
With the eclipse behind us, and all the gear put away it’s time to transfer and process the images to create something memorable. I decided to make a mosaic with some of the photos of the eclipse, as well as the visible sun spots. Click on the image below for a high-resolution version.
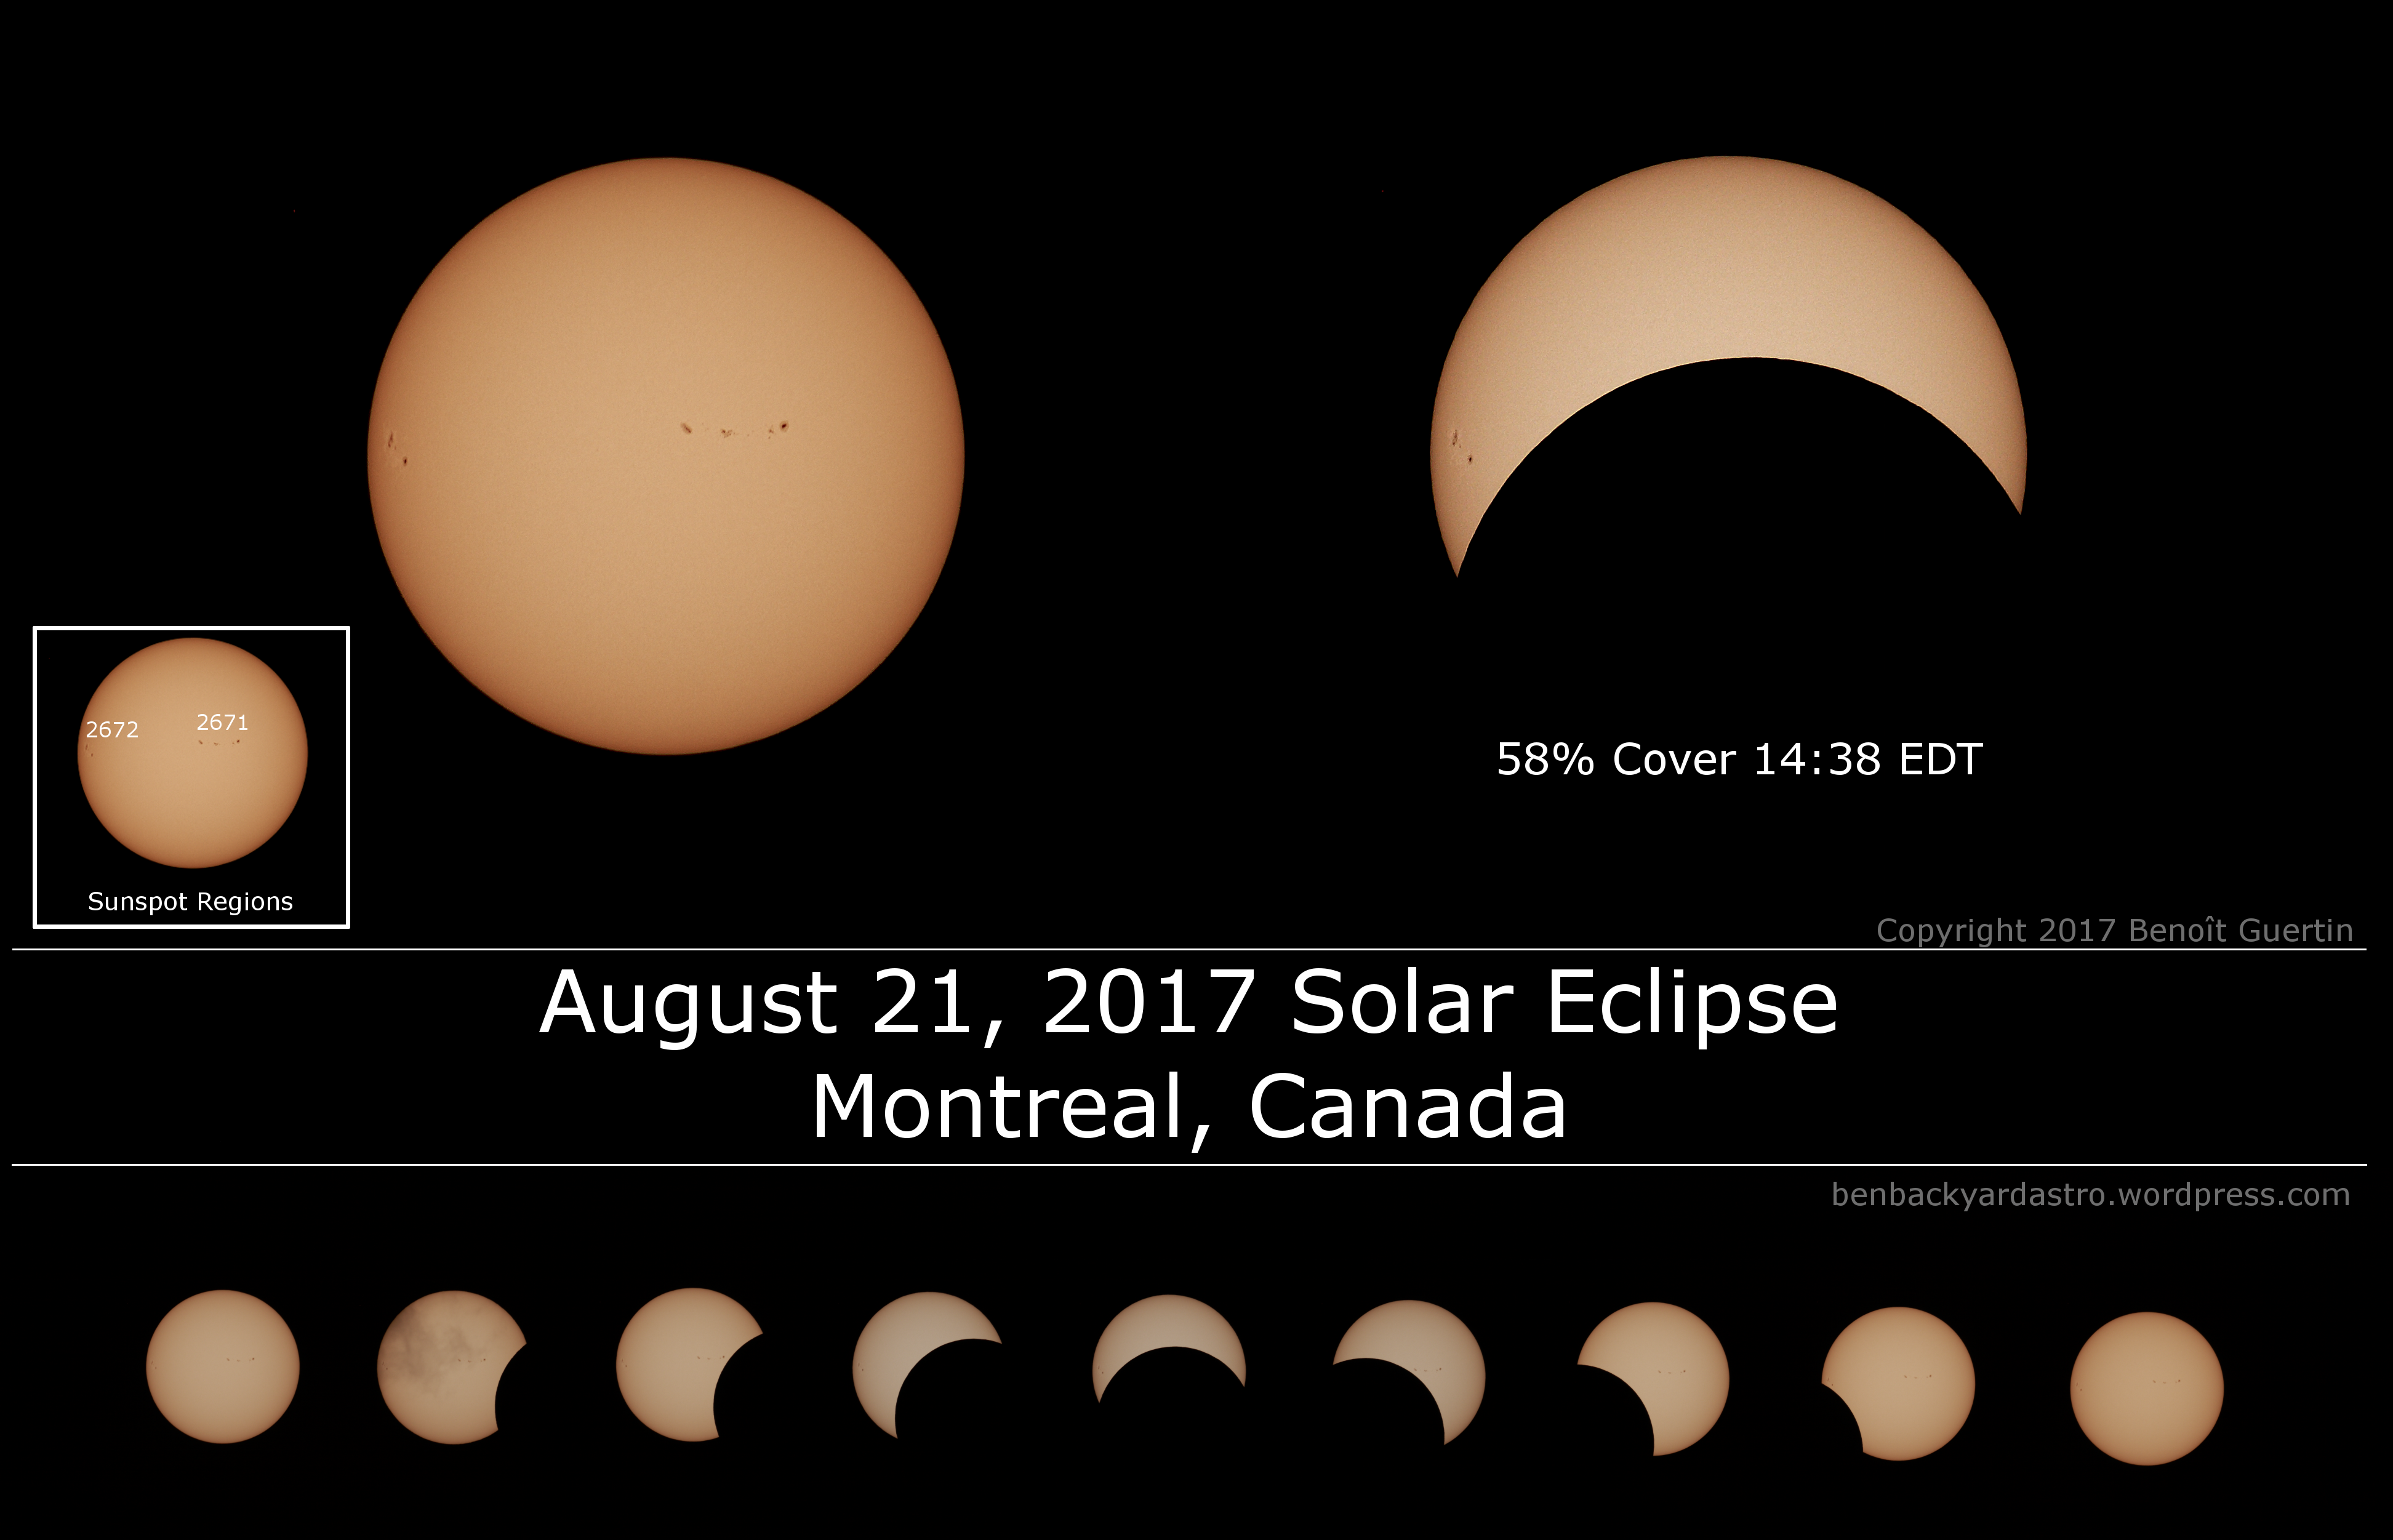
August 21, 2017 Solar Eclipse
The weather cooperated and I had the right gear to get some decent photos. Before the start of the eclipse, the sun presented two observable active sun spot regions: 2671 and 2672. This helped in achieving a proper focus and gave something to observe prior to the start of the eclipse.

Sunspot Region 2671 (right) and 2672 (left)
As I had installed and aligned my Vixen equatorial mount the night before, once I had proper focus with the camera, it was child’s play to start an automatic sequence of images every 60 seconds. Hence for the entire solar eclipse, it was hands-off and automated. I could simply glance once in a while at the screen or grab one of the hand-held solar viewers to look up.

58% Cover from the Montreal, Canada Location.
While the effect was nowhere near that of those in the path of totality, the light level and heat did drop at the peak of the eclipse. The brightness was lower, not like when there are high altitude clouds as the shadows were still sharp and well-defined. And the sun’s rays did feel cooler, a welcomed relief from standing under the sun for the last hour.
In the end, it was a fun experience, especially with the kids. And with over 150 images taken I decided to compile them into two formats. A time-lapse video and a mosaic as seen above.
The video was actually the quickest thing done. With Microsoft Movie Maker, it takes the Canon CR2 RAW files directly and stitches them together into a video. It actually took me longer to find a suitable soundtrack to the clip.
With that experience under my belt, I’m looking forward to April 8th 2024 total solar eclipse that will pass close to home.
Telescope: Skywatcher 80ED with Thousand Oaks R-G solar film
Camera: Canon Rebel XTi (450D)
Setting: 1/1000s at ISO 100
 Step 2 – Under Create select Movie. This will automatically launch Microsoft Movie Maker with the individual photos loaded in a new Movie Maker Project.
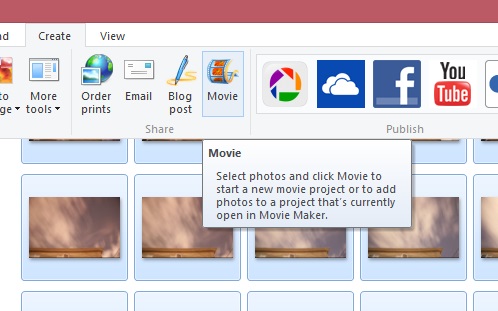

 Step 4 – Save your movie in the format and resolution you wish. Voila! And why not add a title, caption and a soundtrack to go the extra mile.