We’re heading into the peak of Solar Cycle 25, which should happen sometime in 2025, and active solar region 3536 produced on December 31st, the most powerful recorded solar blast since 2017, measured at X5. Don’t let the size of the sunspot fool you, it has been crackling with multiple C class flares since it appeared on the limb of the Sun. Flares are classified in increasing strength as A, B, C, M or X according to their X-ray emissions. X-class flares can cause disruptions in communication and GPS guidance here on Earth.
The Sun on January 4, 2024
The above photo was taken with my Skywatcher 80ED apochromatic doublet telescope paired with a Canon 80D DSLR. Four different active solar regions are identified on the photo.
So far none of the ejecta from active region 3536 have struck Earth, but as this active region is still showing beta-gamma magnetic configuration there’s still a high chance of more flares.
Taking photos of a partial solar eclipse wasn’t high on my TO DO list on this past Saturday. Experiencing a solar eclipse is about location, and my city (Montreal) was not in the best path of the Moon’s shadow that day. At the maximum eclipse, the sun would be at best 17% covered from my viewing location. People in the south-west of the United States were the lucky ones to see the show.
Percentage of moon coverage by location (Source: CBC News)
As you may know, a partial solar eclipse happens when the moon covers only a part of the sun, creating a crescent-shaped sun. It’s not as spectacular as a total solar eclipse, but still pretty amazing to see. The problem is, you need clear skies to see it well. And that’s where the challenge came in.
When I glanced out around 11am, one hour before the start of the eclipse, it didn’t look good, I was worried that I would miss the eclipse, and any attempt to take photos ruined by clouds. The forecast was for partly cloudy and I could see patches of blue sky in the distant, so I decided to give it a try anyways and setup the equipment hoping for a few lucky minutes. Best to be ready for the few minutes that I may have. At worse case, if the clouds were thin I could still view it with an eyepiece.
I grabbed by Vixen Great Polaris motorized mount, got it installed in a rough polar alignment and gave it some power to track the sun. The telescope of was my Skywatcher 80ED (600mm f/7.5) simply because it’s the one that I have a solar filter that will fit. My DSLR, a Canon 80D is coupled to the telescope to capture the moment. A longer focal length would have been nice, but that will do. Now all I had to do is wait for a break in the clouds.
Clouds obscuring the solar eclipse, but a patch of blue sky kept my hopes up
And that break arrived at 12:50pm a few minutes before maximum eclipse (1:18pm). I had to be quick, center the image, adjust the focus and have the camera on the right setting. I settled with ISO 100 and 1/1000s to not over expose and reduce the blurring effect of the atmosphere.
When taking astronomy photos, don’t trust the light-meter of your camera, always check the histogram to ensure the peak image intensity doesn’t pass the 80% mark. You want to be sure you’re working within the dynamic range of your sensor and not getting some clipping.
Adjust the exposure time to have the light intensity peak below 80% of the range
With that short 15 minute break in the clouds I was able make efficient use by letting my kids view the eclipse with an eye-piece, nothing like an unassisted live view, and then switched the setup to the DSLR for some photos.
Partial Solar Eclipse, October 14, 2023 (Montreal, QC)
As we are nearing another solar maximum, there’s no surprises in seeing a few sunspots in the photo. I find the sunspots add to the dynamic nature of our sun, that it’s not a steady and static source of light. There are 6 visible active solar regions in the photo, AR3464 and AR3465 being the most visible ones in the middle.
The view of 6 active solar regions.
Even though I didn’t have ideal conditions I was happy how the photos turned out and the opportunity to witness this really cool event.
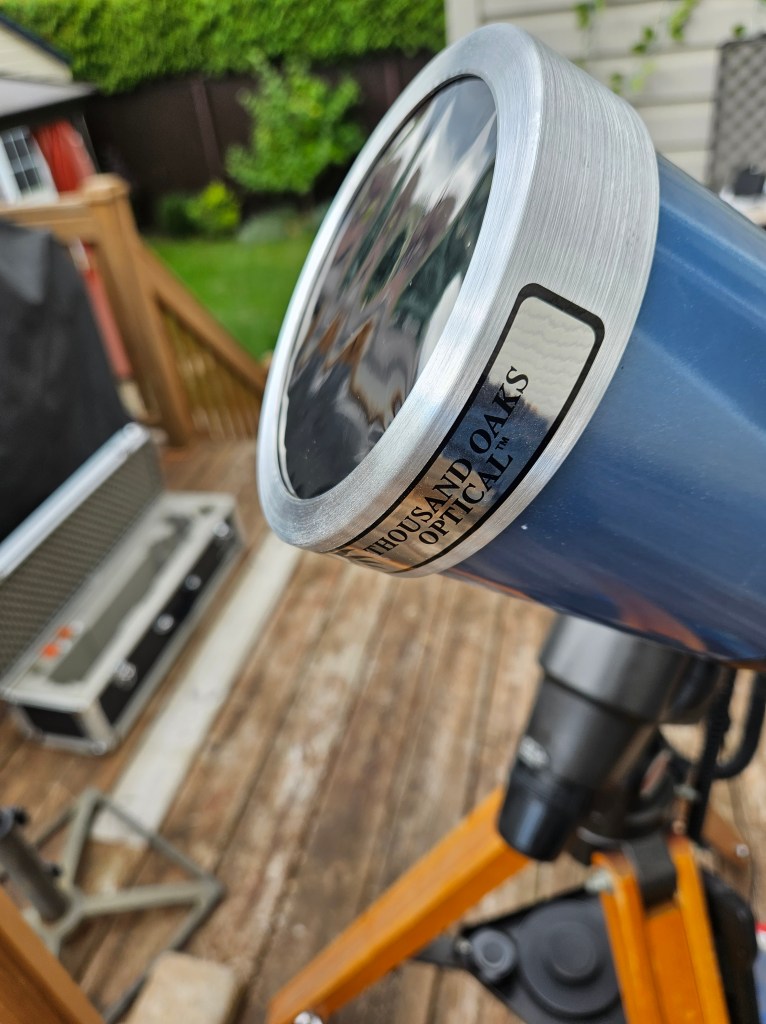
A reminder for all solar observation, the proper filter is required to protect your eyesight and the equipment. If you’ve ever played with a magnifying glass outdoors, you know that focusing the sun’s rays will melt or burn anything. The Thousand Oaks optical solar filter cuts out 99.999% of the sunlight such that observation an photography can be done safely.
Solar filter for safe viewing of the sun and eclipse
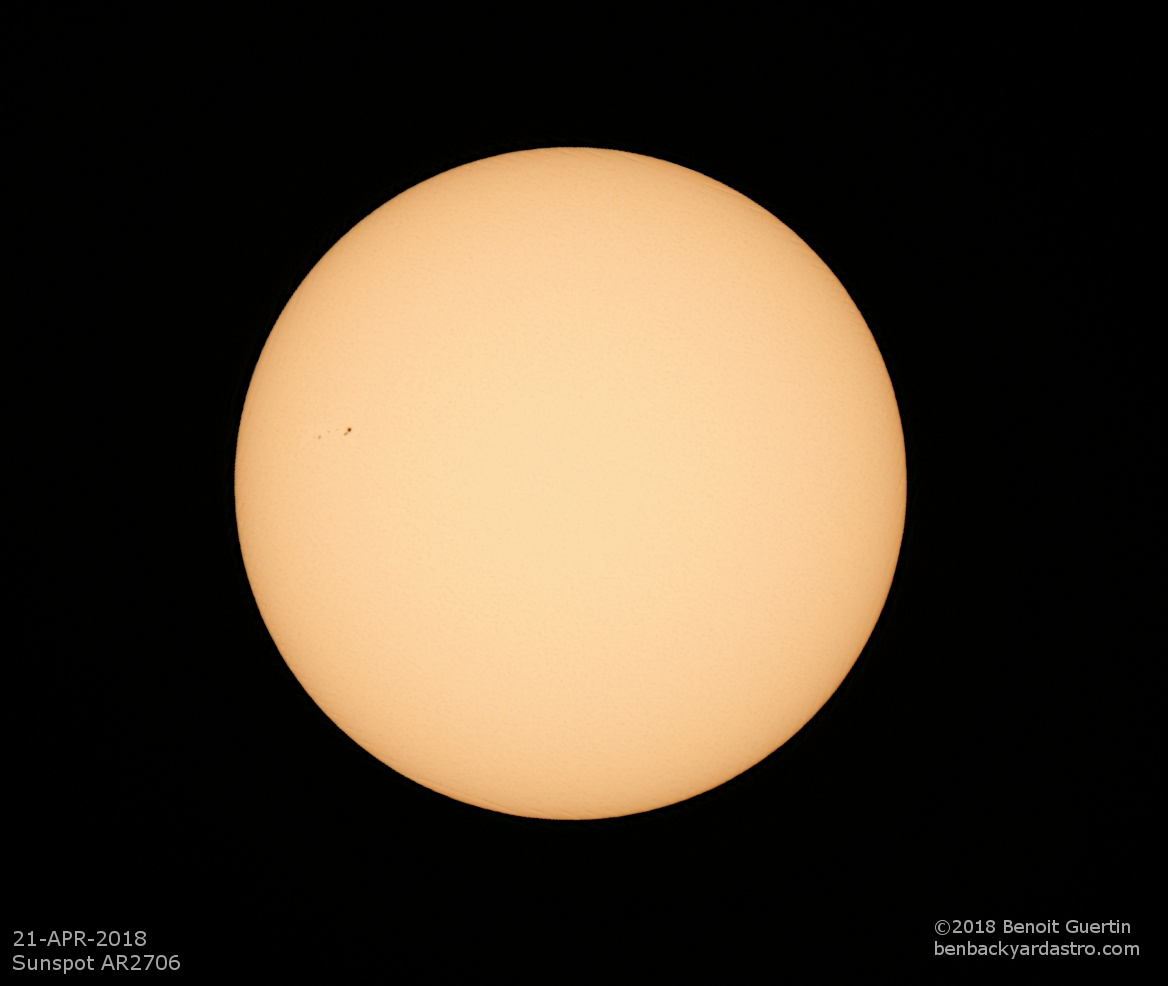
After a weeks of clouds, rain and even snow, I finally get a sunny weekend without a cloud in the sky. With the warmer temperatures, time to take the telescope out. Unfortunately no significant sunspot happening on April 21. Just a small region (AR2706) on the western part of the sun.
Canon 80D (ISO 100, 1/400s)
Skywatcher 80ED (80mm F/7.5)
Sun with sunspot AR2706 (21-apr-2018). Benoit Guertin
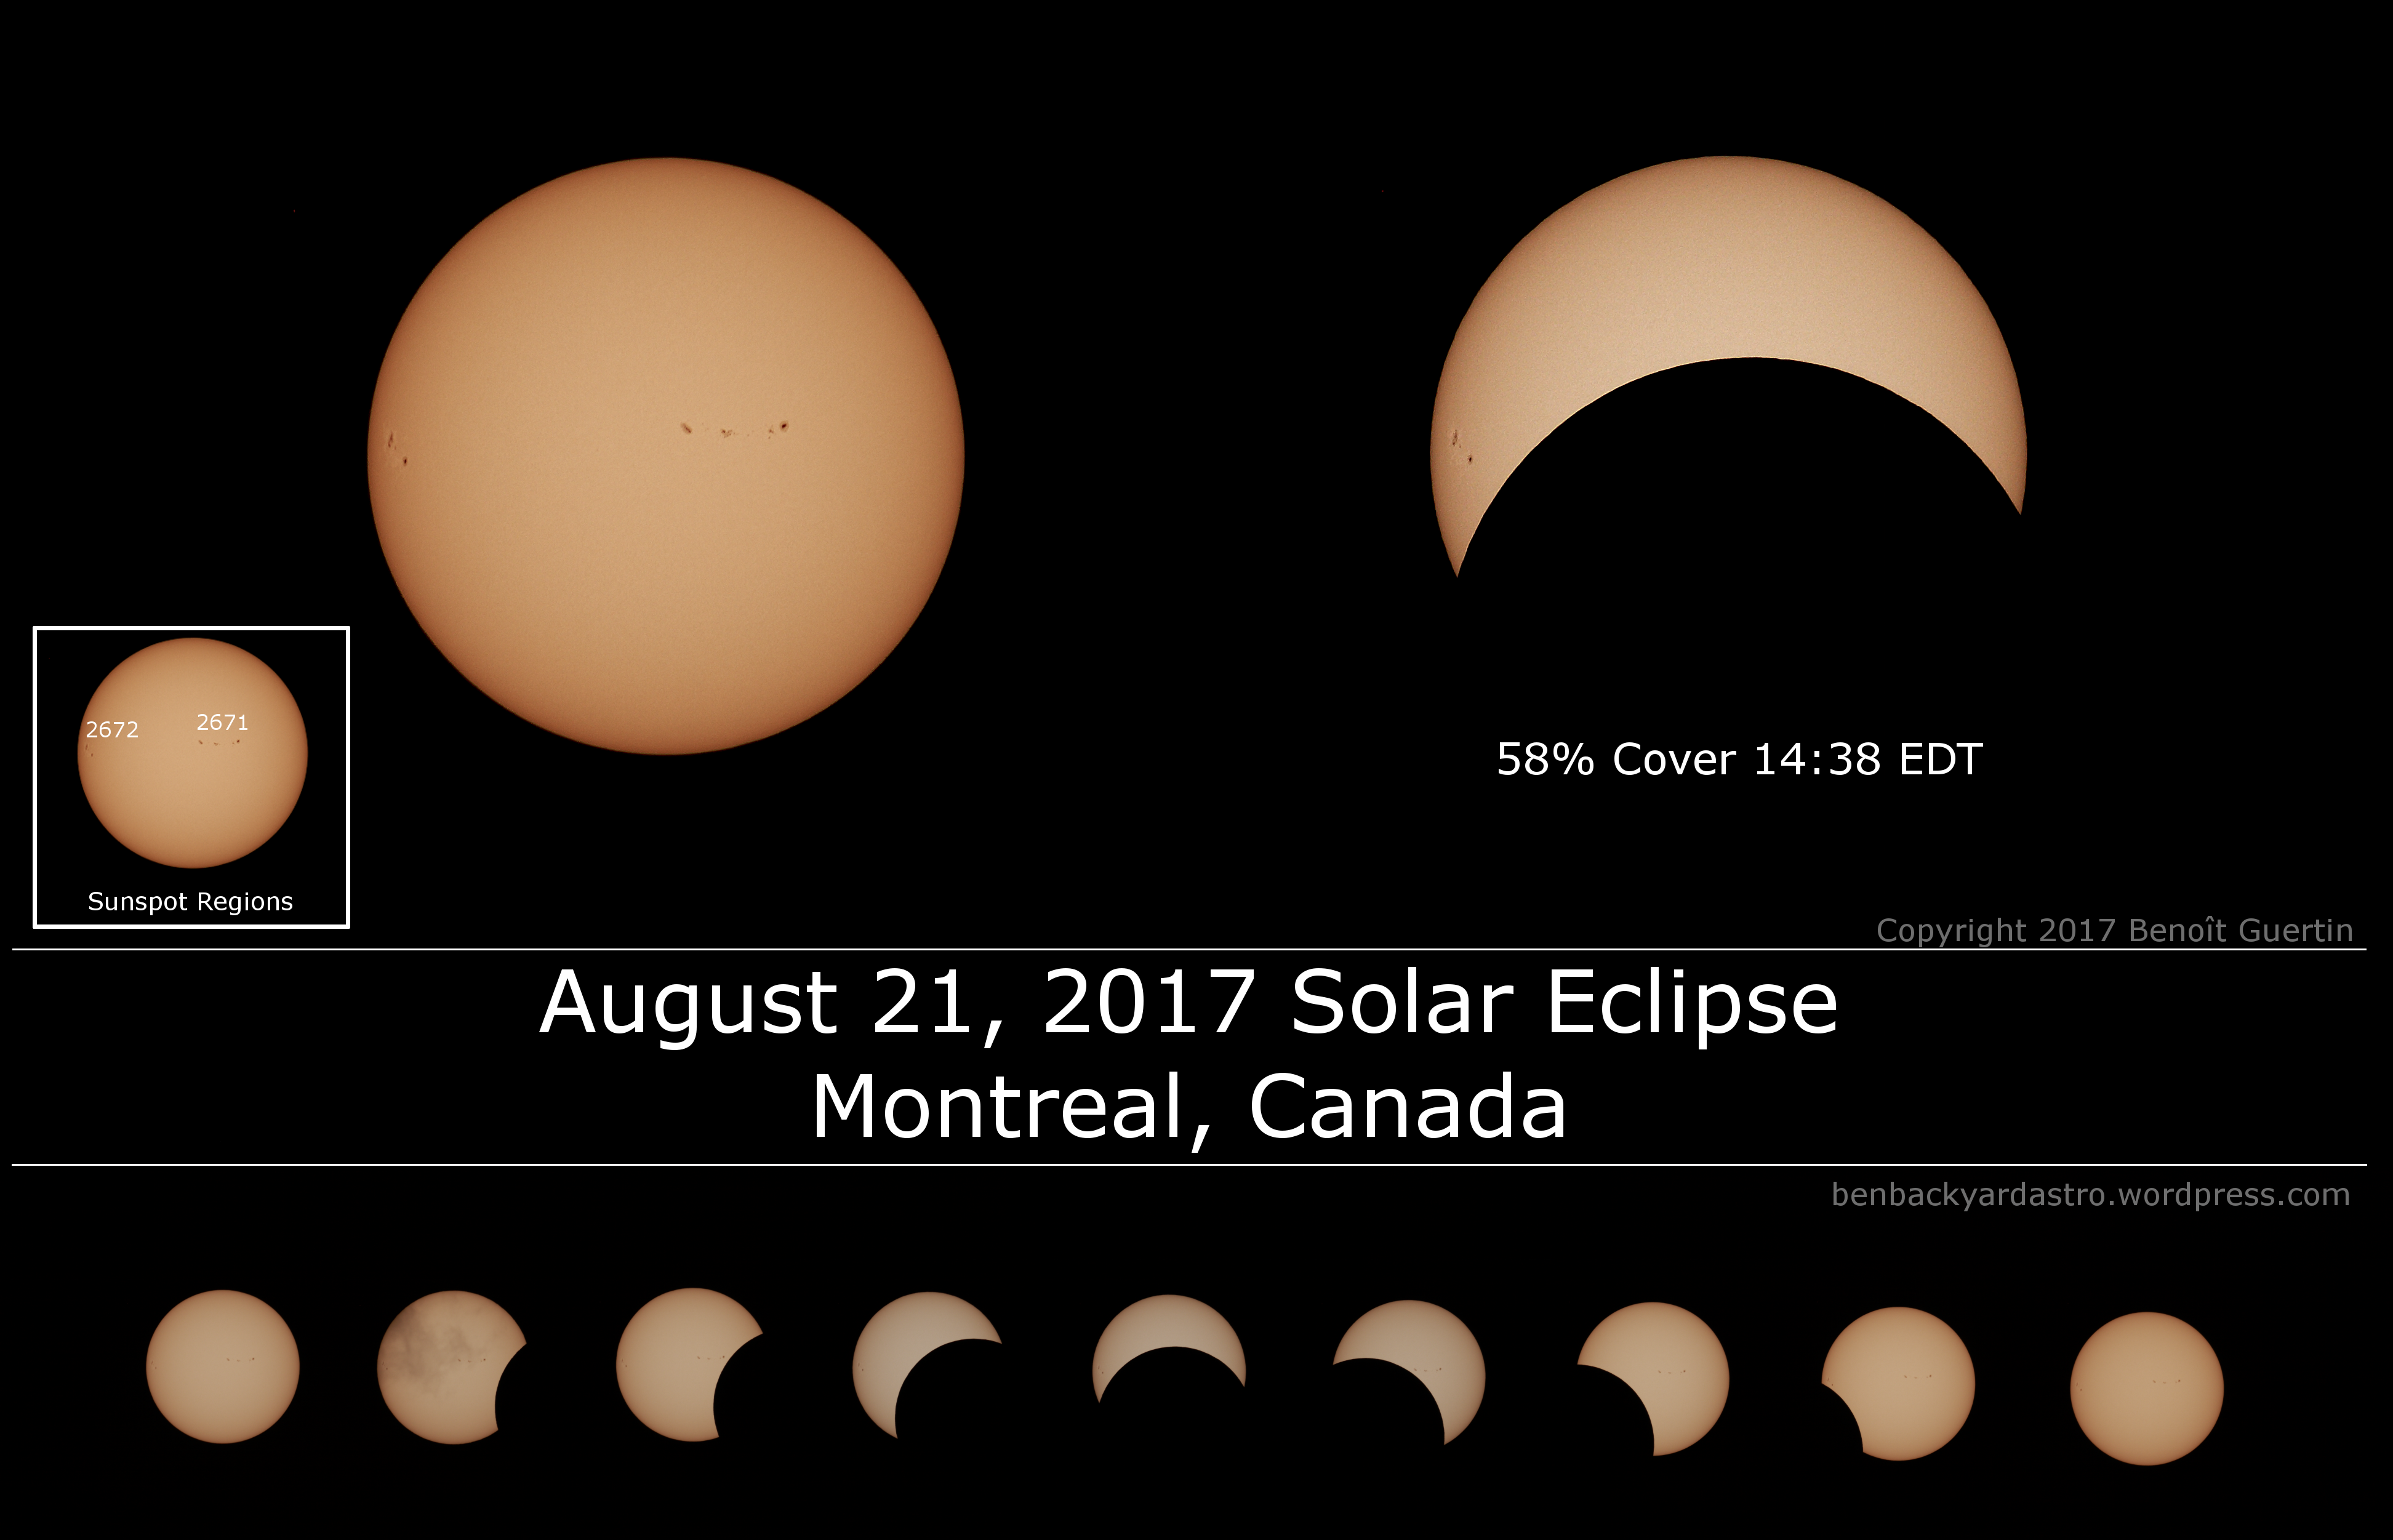
With the eclipse behind us, and all the gear put away it’s time to transfer and process the images to create something memorable. I decided to make a mosaic with some of the photos of the eclipse, as well as the visible sun spots. Click on the image below for a high-resolution version.
August 21, 2017 Solar Eclipse
The weather cooperated and I had the right gear to get some decent photos. Before the start of the eclipse, the sun presented two observable active sun spot regions: 2671 and 2672. This helped in achieving a proper focus and gave something to observe prior to the start of the eclipse.
Sunspot Region 2671 (right) and 2672 (left)
As I had installed and aligned my Vixen equatorial mount the night before, once I had proper focus with the camera, it was child’s play to start an automatic sequence of images every 60 seconds. Hence for the entire solar eclipse, it was hands-off and automated. I could simply glance once in a while at the screen or grab one of the hand-held solar viewers to look up.
58% Cover from the Montreal, Canada Location.
While the effect was nowhere near that of those in the path of totality, the light level and heat did drop at the peak of the eclipse. The brightness was lower, not like when there are high altitude clouds as the shadows were still sharp and well-defined. And the sun’s rays did feel cooler, a welcomed relief from standing under the sun for the last hour.
In the end, it was a fun experience, especially with the kids. And with over 150 images taken I decided to compile them into two formats. A time-lapse video and a mosaic as seen above.
The video was actually the quickest thing done. With Microsoft Movie Maker, it takes the Canon CR2 RAW files directly and stitches them together into a video. It actually took me longer to find a suitable soundtrack to the clip.
Sunspots on the sun come and go. Count them for many years and you’ll soon find out that there is an 11 year periodic cycle when the solar magnetic activity peaks. We are presently in Solar Cycle 24 and on the tail end of the double peak of 2011 and 2014. So why would I want a solar filter when the Sun is heading into a quiet period?
Number of sunspots observed and predicted for 1995 to 2020
Well, just because the number of sunspots goes down doesn’t mean that there’s not good some great observing opportunities. Sunspot 2529 provided that perfect occasion to finally try out my new solar filter.
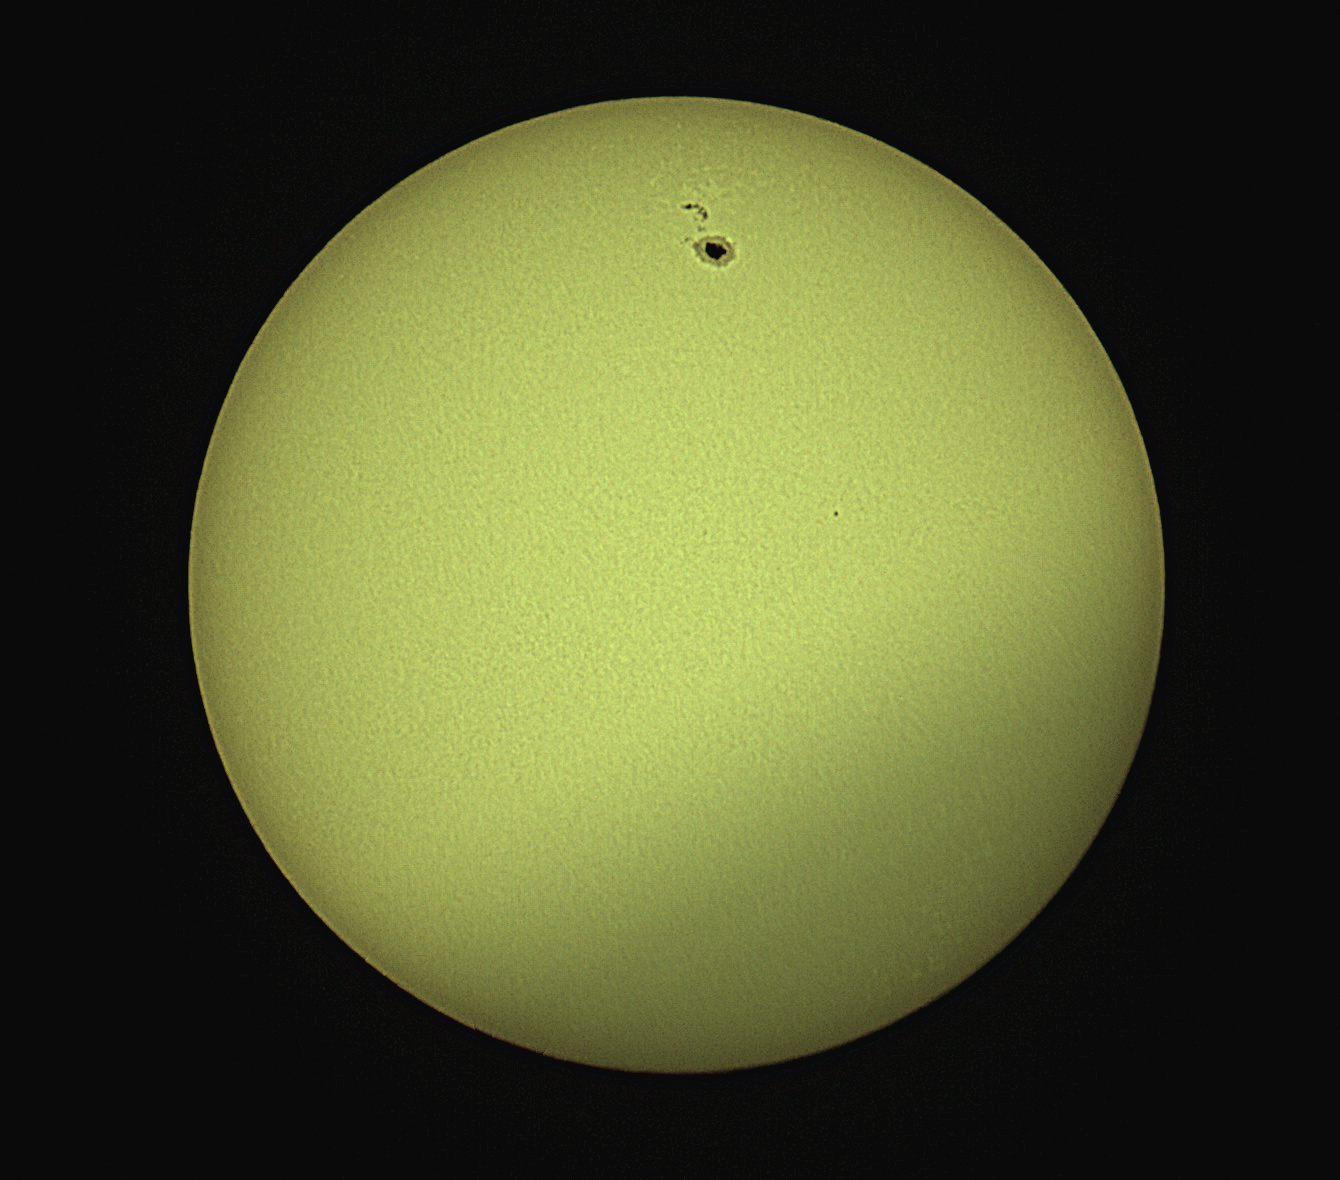
Sunspot 2529 (April 10, 2016) – Benoit Guertin
The above image was captured on April 10th, 2016 with on my Skywatcher 80ED with Canon 400D at ISO 200 and 1/500s. 19 frames were processed with Registax6. Sunspot 2529 is still visible today and may be there for another week as readings indicate that it’s quite stable.
There are various types of solar filter out there. They all essentially do the same thing which is to permit only a small percentage (roughly 0.001%) of the white light to pass through. Solar filters are not designed to allow observation of prominence and flares, special hydrogen-alpha narrow-band pass filters are required for that, but they do allow a view of sunspots and granulation if you happen to have sufficient focal length. By blocking out most of the sunlight, you can then safely observer or photograph the sun. Remember not to install your finderscope, and move the telescope away from the sun before removing the solar filter. Your telescope is a MIGHTY strong magnifying glass.
Shopping around there are generally two types of solar filter: glass and film. While the glass are more durable, the films offer just as good optical performance at a lower price, especially for larger aperture.
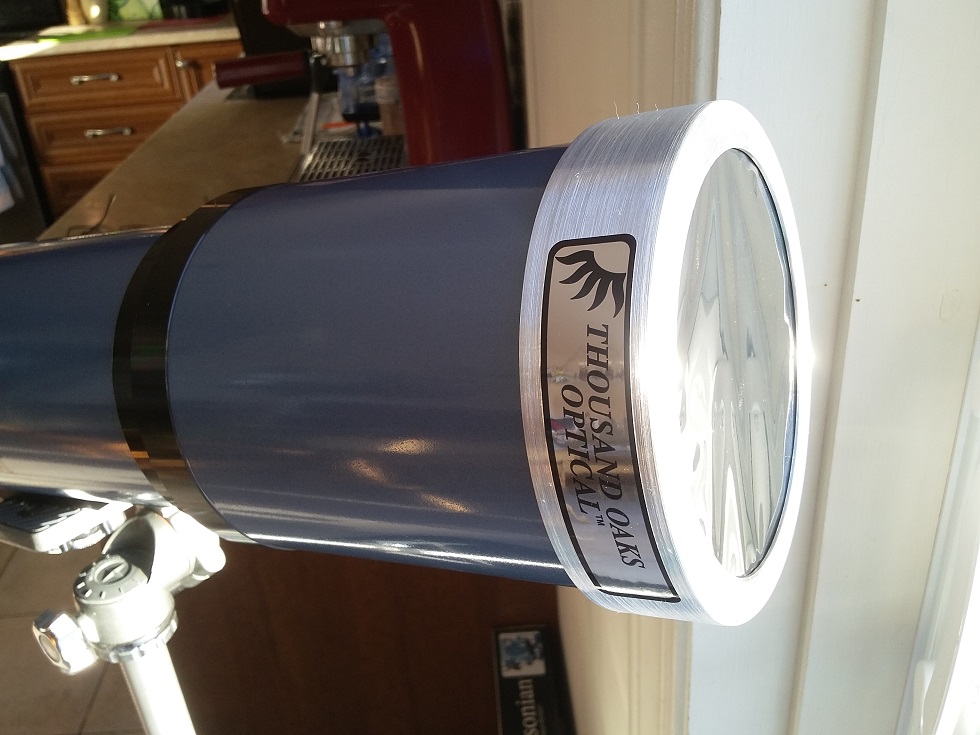
Thousand Oaks Optical R-G Solar Filter
Normally for anything in the optical path, especially filters, backyard astronomers are always looking for the smoothest and most parallel surfaces, but for solar film, it appears that the ripples from the loose film have no effect on the image quality.
The filter that I selected is the R-G Solar Filter from Thousand Oaks Optical. It provides a light yellow pleasant view of the sun, and works very well both visually and with the DSLR. I enhanced the yellow in the photo of the sun above, but it’s quite close to what can be seen and photographed.
Mark your calendars for May 9th 14:57UT, Mercury will transit in front of the Sun. The last time that happened was 2006.
Welcome to a journey into our Universe with Dr Dave, amateur astronomer and astrophotographer for over 40 years. Astro-imaging, image processing, space science, solar astronomy and public outreach are some of the stops in this journey!