This coming April 8, 2024 a total solar eclipse will happen over much of the USA, including portions of Canada and Mexico. If you are planning to view or photograph the solar eclipse, you need to use the right solar filter to protect your eyes and your equipment. A solar filter is a special device that blocks most of the Sun’s light, allowing only a very small fraction to pass through. Without a solar filter, the intense brightness of the Sun can damage your retina, causing permanent blindness. It can also damage your camera sensor, lens, or telescope. I’m sure you’ve all seen or even experimented with burning or meting things using a magnifying glass and sunlight. I don’t need any further explanation.
There are different types of solar filters, such as glass, film, or foil filters. They have different advantages and disadvantages, depending on their cost, durability, optical quality, and ease of use. You should choose a solar filter that fits your budget, your equipment, and your viewing preferences. Some filters are designed to be attached to the front of your camera lens or telescope, while others are meant to be held in front of your eyes or mounted on a cardboard frame.
The simplest are cardboard glasses which have a solar film. They are cheap, you can get a dozen for less than $40 and anybody can use them to view the eclipse.

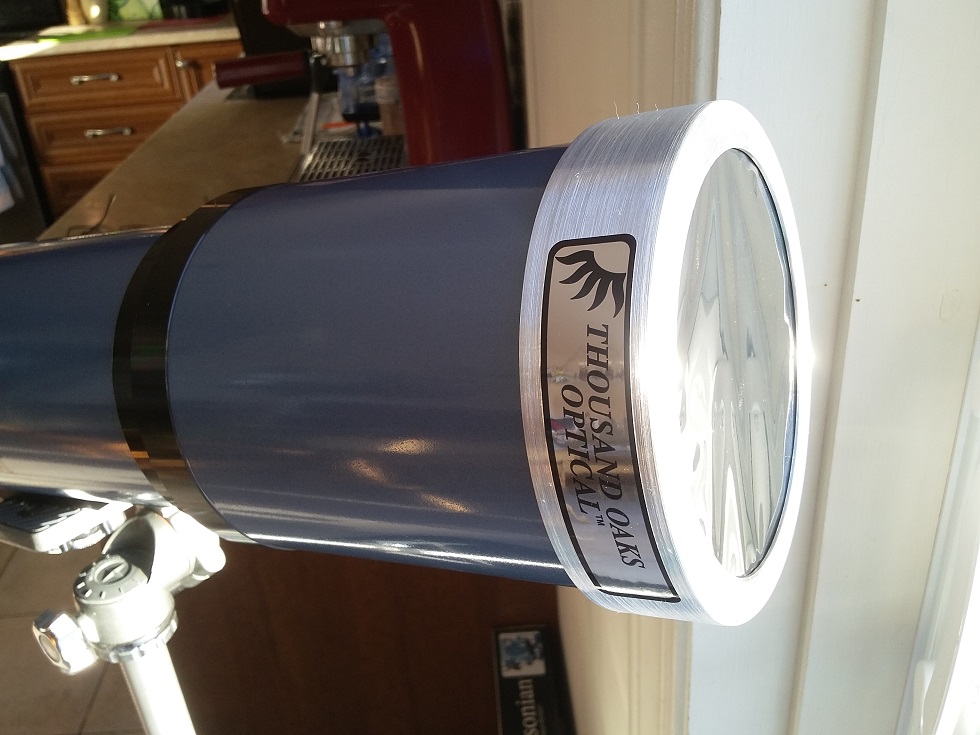
If you have equipment like a camera or a telescope, you can get the same solar film in a cell that can be mounted ahead of the optical body. These are a little more expensive but ensure a good fit and won’t fall off. Because they use a thin solar film, you must be careful when manipulating and storing them to avoid a tear or puncture. Don’t worry about the “ripples” in the film, it doesn’t affect the optical properties as the thickness is uniform.
Film type solar filters can also be ordered as a sheet and then cut/mounted to size for your specific application. It’s often the simplest and cheapest way to protect your equipment.
Glass solar filters are also available for both DSLR and telescope use, but the price climbs quickly with increased size. So their application tends to be limited to DSLR lenses and will screw to the end of the lens body like your regular ND or UV filter.
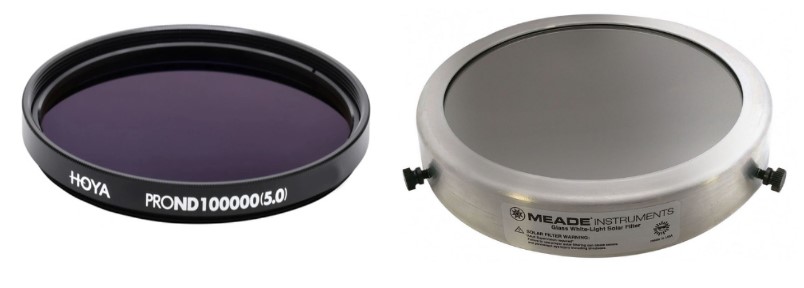
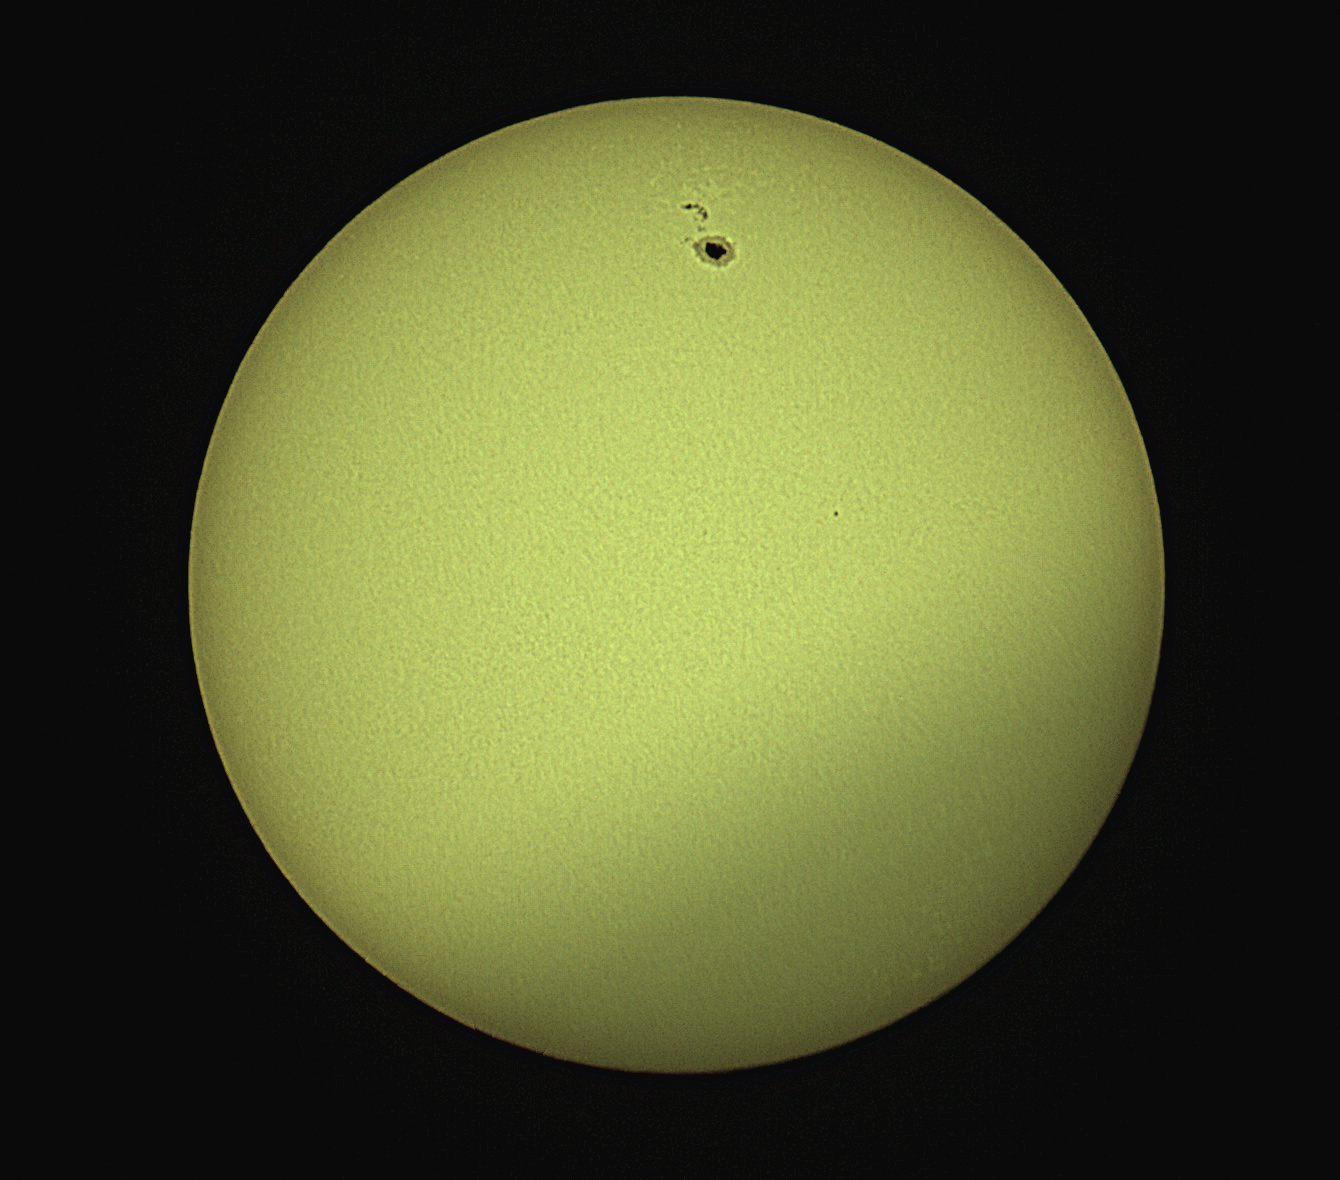
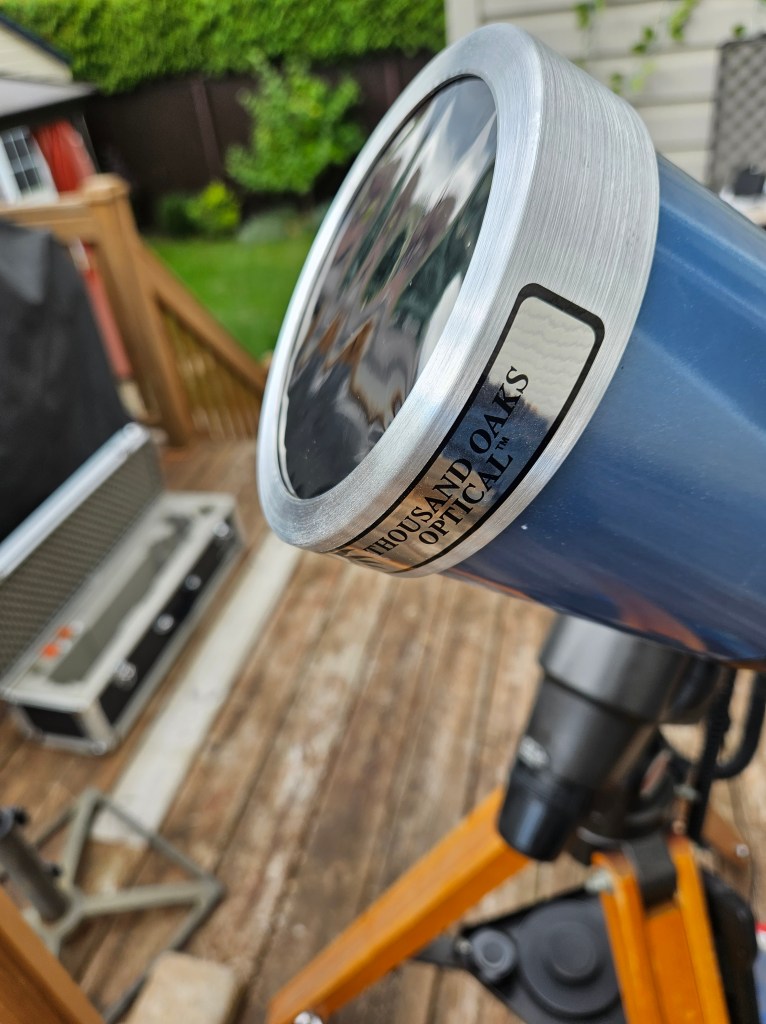
When choosing a solar filter, you should look for one that has a certified rating of ND5 or higher. This means that it blocks 99.999% of the Sun’s light, leaving only 0.001% or less to reach your eyes or camera. You should also check that the filter is in good condition, with no scratches, holes, or cracks. A damaged filter can let in harmful rays that can hurt your eyes or equipment, not to mention mess up that once in a lifetime photo. I’ll put a link to Thousand Oaks Optical below, as I’ve been really happy with the quality and performance of the filter for my telescope.
A solar filter is essential for viewing or photographing a solar eclipse safely and effectively. It will allow you to see the Sun’s corona, the thin ring of light that surrounds the dark disk of the Moon. It will also help you capture stunning images of this beautiful phenomenon. Remember to use the right solar filter for your needs and enjoy the show!
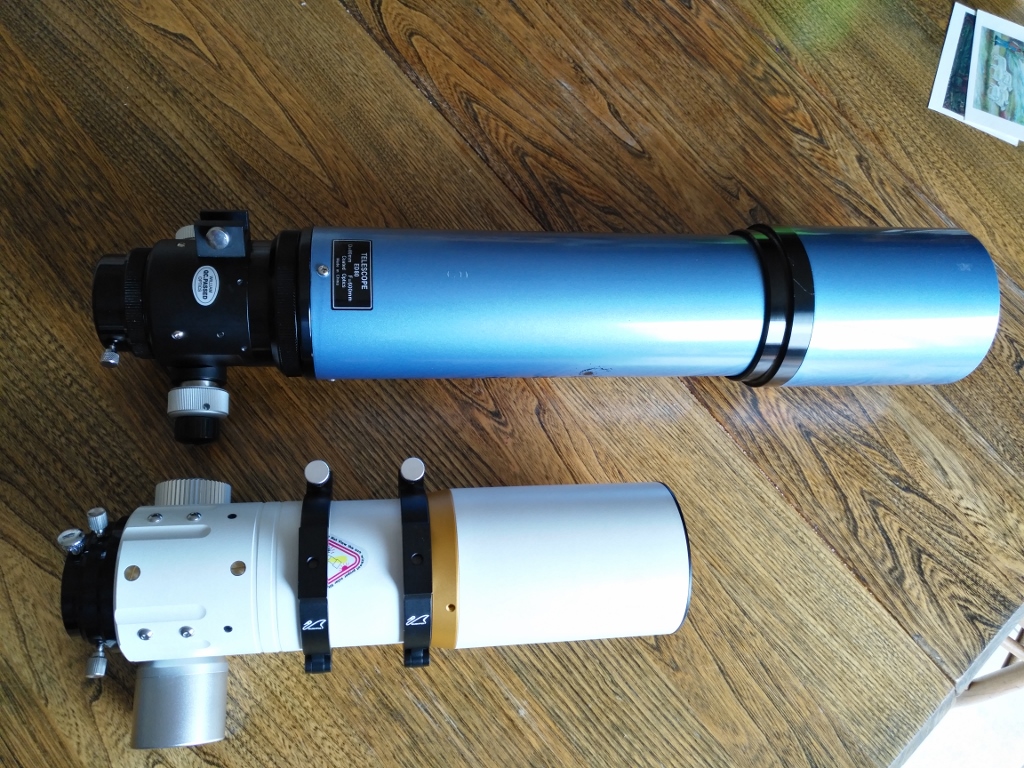
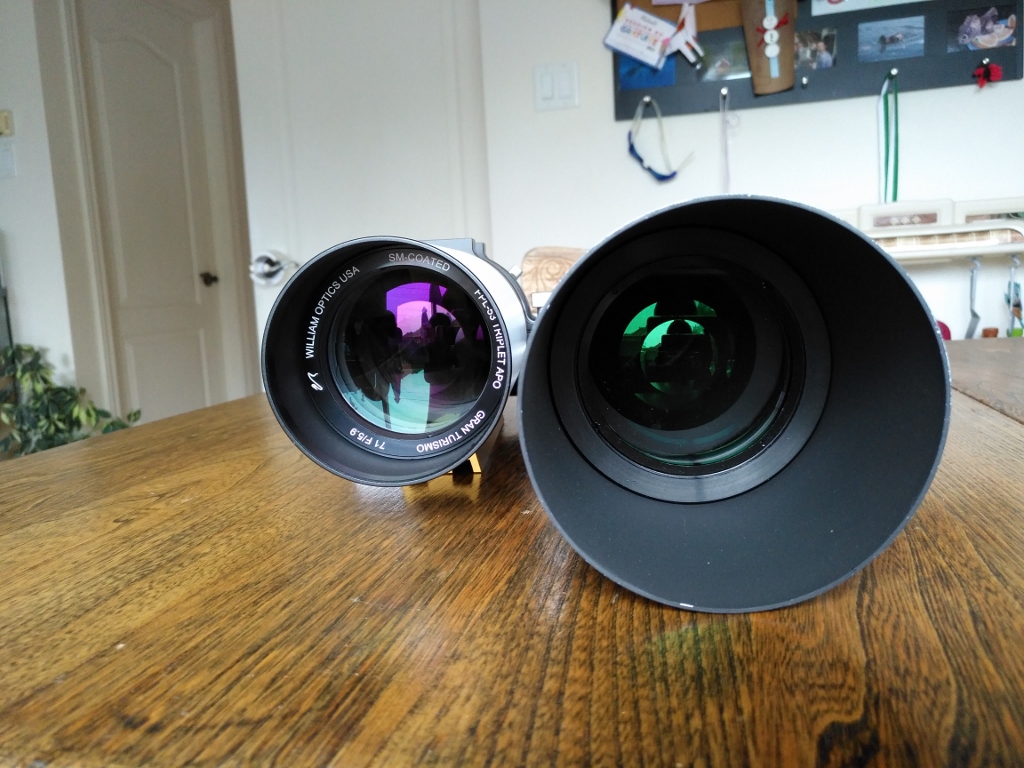
 It may be a demo, but it looks brand new. Not a scratch on the powder-coat finished white optical tube or even the gold-colored dove-tail. Everything feels solid and the focuser looks like it can easily handle the heaviest DSLR. The SW80ED focuser is screwed to the back of the optical tub while the GT71 is one CNC machined unit, eliminating mis-alignment. As this is designed to be a travel scope, the soft-case that comes with it is very nice, much more portable than my current Orion hard-case. And at 2.2kgs, the weight is well within the range for the Vixen GP mount.
![Meade EclipseView [Meade]](https://benbackyardastro.com/wp-content/uploads/2017/01/meade_eclipseview.jpg)