This was my first time experiencing a total eclipse, and it did not disappoint! But the day did not go as planned.

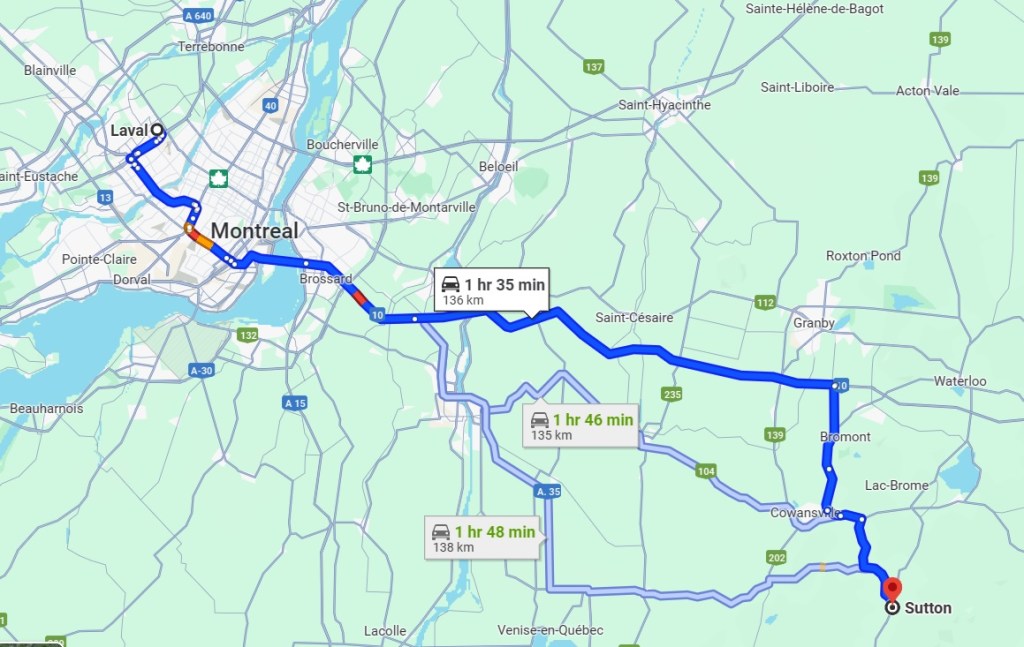
A friend amateur astronomer invited me to his cottage in Sutton, Quebec, to be able to view the eclipse in a location that was ideal, located just a few kilometers from the center of the path of totality. At that spot, the eclipse would last nearly 3 minutes and 30 seconds. The forecast was for perfect blue skies, in fact eastern Quebec appeared to be the best spot in all of North America to watch the eclipse without cloud cover.
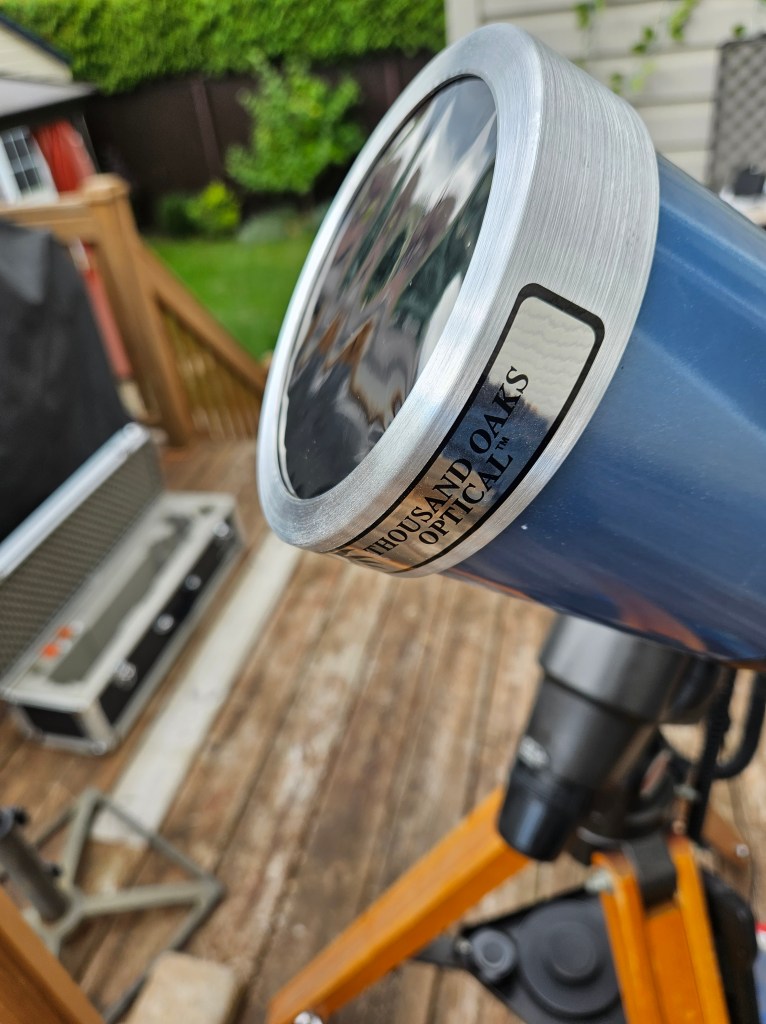
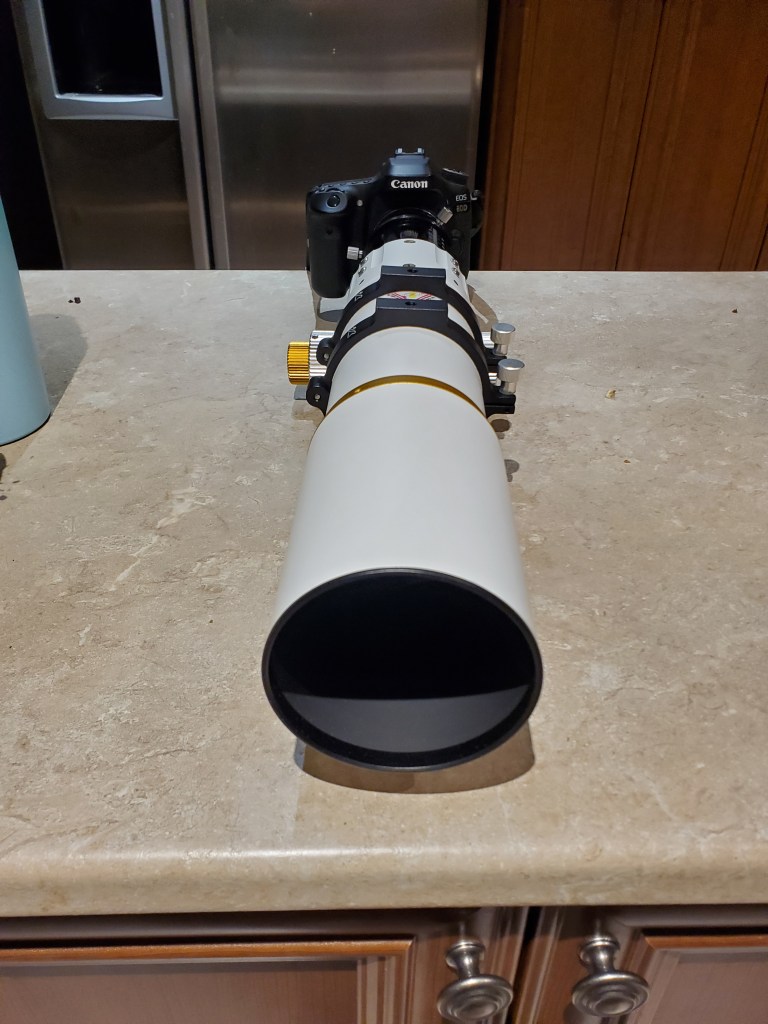
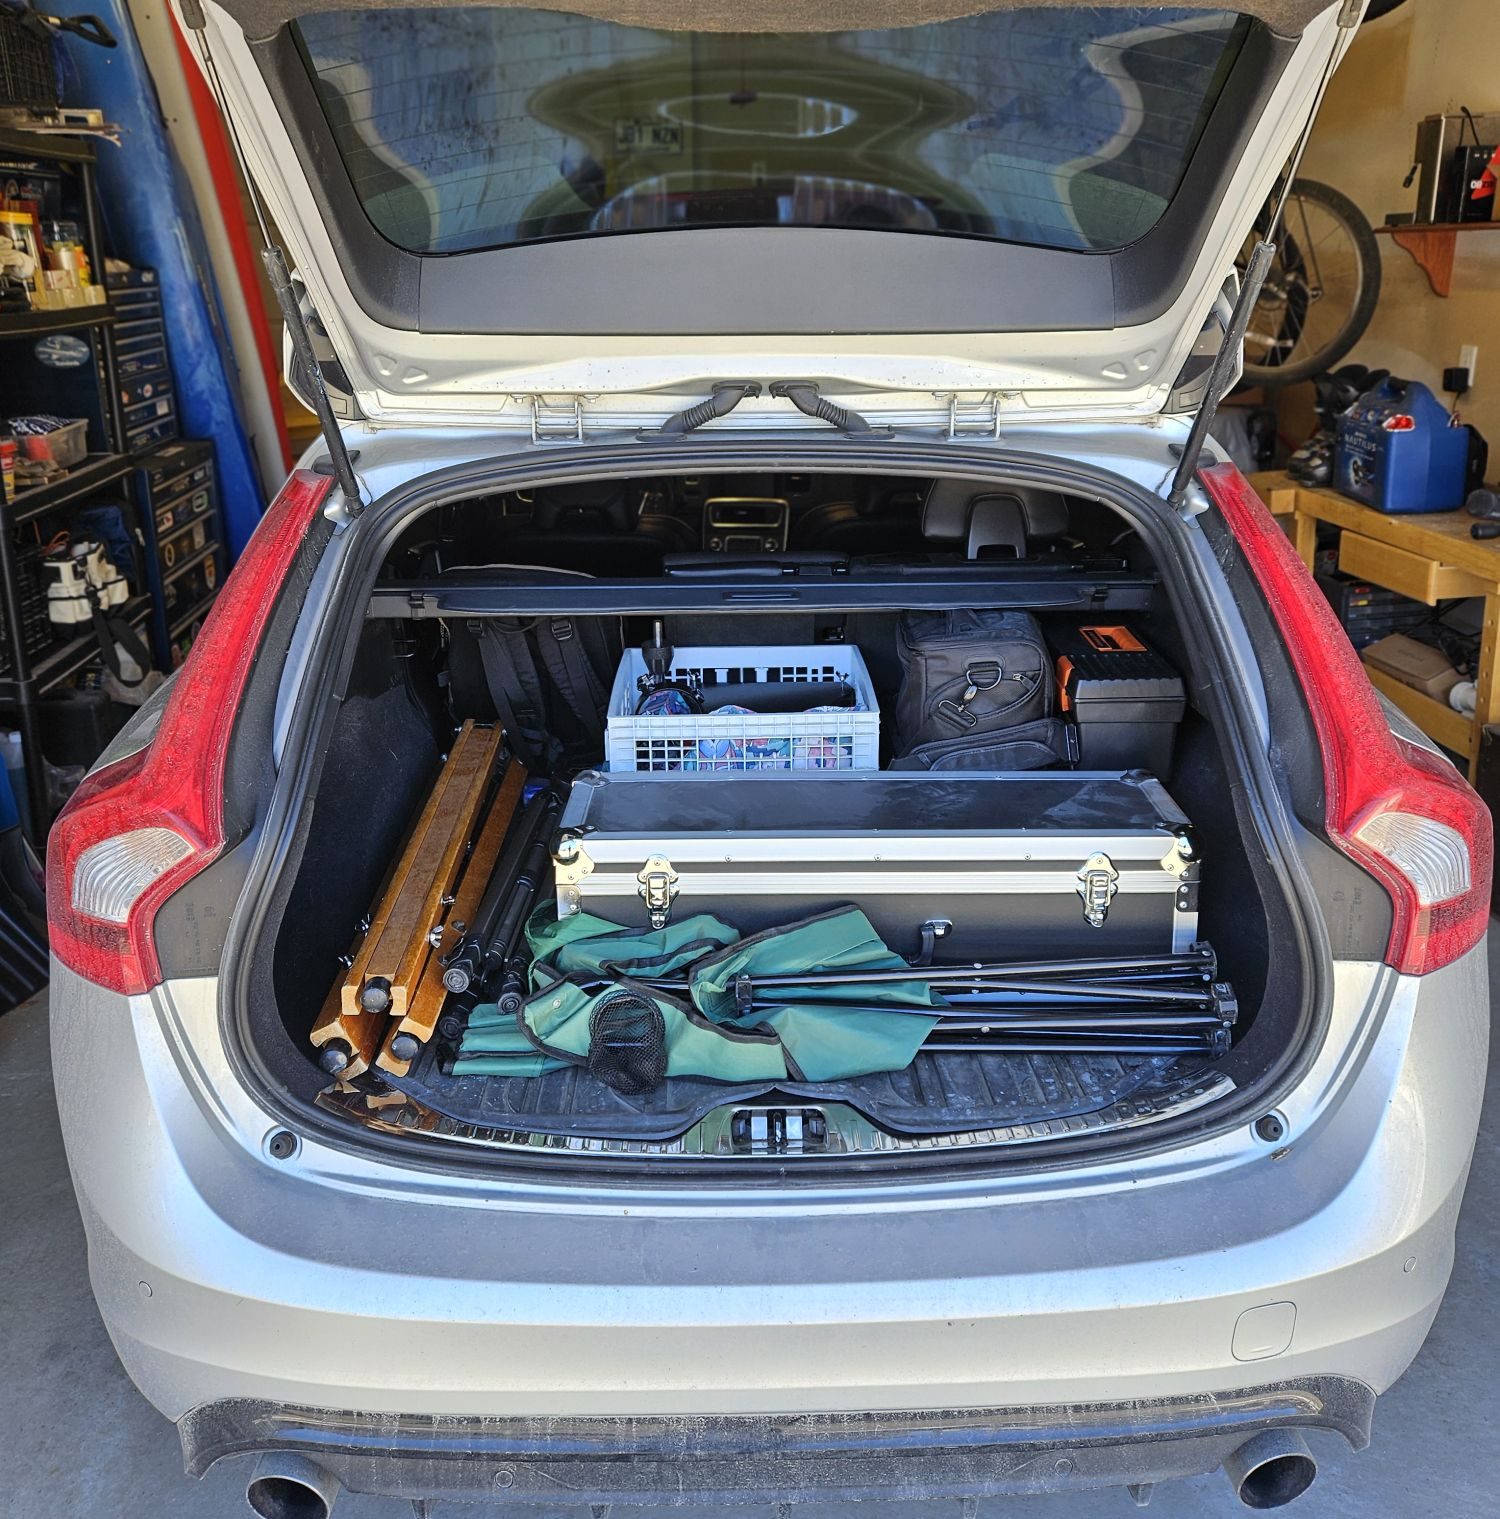
That morning I planned my trip, packed up the car with my telescope, camera, laptop table, chair, and was looking forward to the day. According to Google Maps, I would get to Sutton with 1hr to spare, enough time to setup the equipment.
However once on the road the traffic situation changed rapidly as thousands of people were heading out to the eastern townships searching the ideal place to view the eclipse. Montreal being an island, the crossing points are limited and this resulted in terrible gridlock traffic as everyone appeared to hit the road at the same time. Two hours later, when I should have been approaching Sutton, I was still on the island of Montreal trying to make it across a bridge.
There I was sitting in a traffic jam, Google Maps kept increasing the ETA as I was barely moving a car length per minute and I was loosing all my equipment setup time. On top of that, I was starting to wonder if I even had enough gas in the car to make it. Creeping along in stop-n-go traffic was killing the fuel economy. I was starting to wonder if I should think of a plan B.
With a lot of patience I reached Brossard on the south short and was now on highway 10 to the eastern townships, free from the city of Montreal. But the highway was behaving closer to a shopping center parking lot on December 23rd. The worse scenario was starting to materialize: stuck on a highway with my telescope and gear in the trunk and no place to setup. Would the shoulder of a highway be my destination?
I was now next to an offramp and the next exit was over 10 kilometers away, likely a 1 hour ordeal. I decided to get off the highway, abandon the Sutton destination and go for plan B: find a suitable spot to setup. The eclipse would begin in 1 hour, I needed to find a spot quickly.
That arrived moments later as I spotted from the highway a commercial zone with a vacant lot away from buildings. It would have to do, my nerves were about to fray. There was amble space to safely setup my gear with no disruptions and more importantly, time to do so before the eclipse would start.

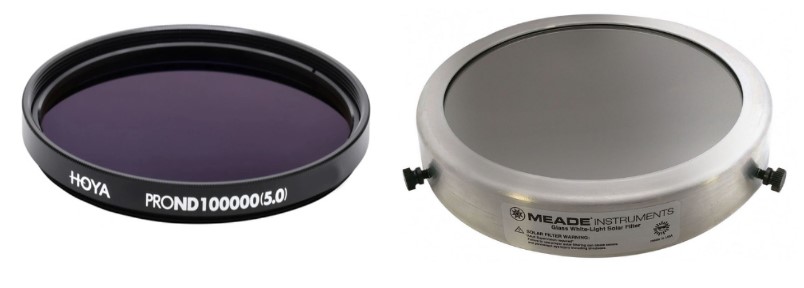
I’m sure there were people driving by wondering what I doing there, but it didn’t matter as I was ready to observe and photograph the eclipse. Two visible sun spots on the sun were much welcomed focusing aids. But not being correctly polar aligned meant the sun would drift away every 5-10 minutes. Nothing would be perfect in these circumstances and that was OK.
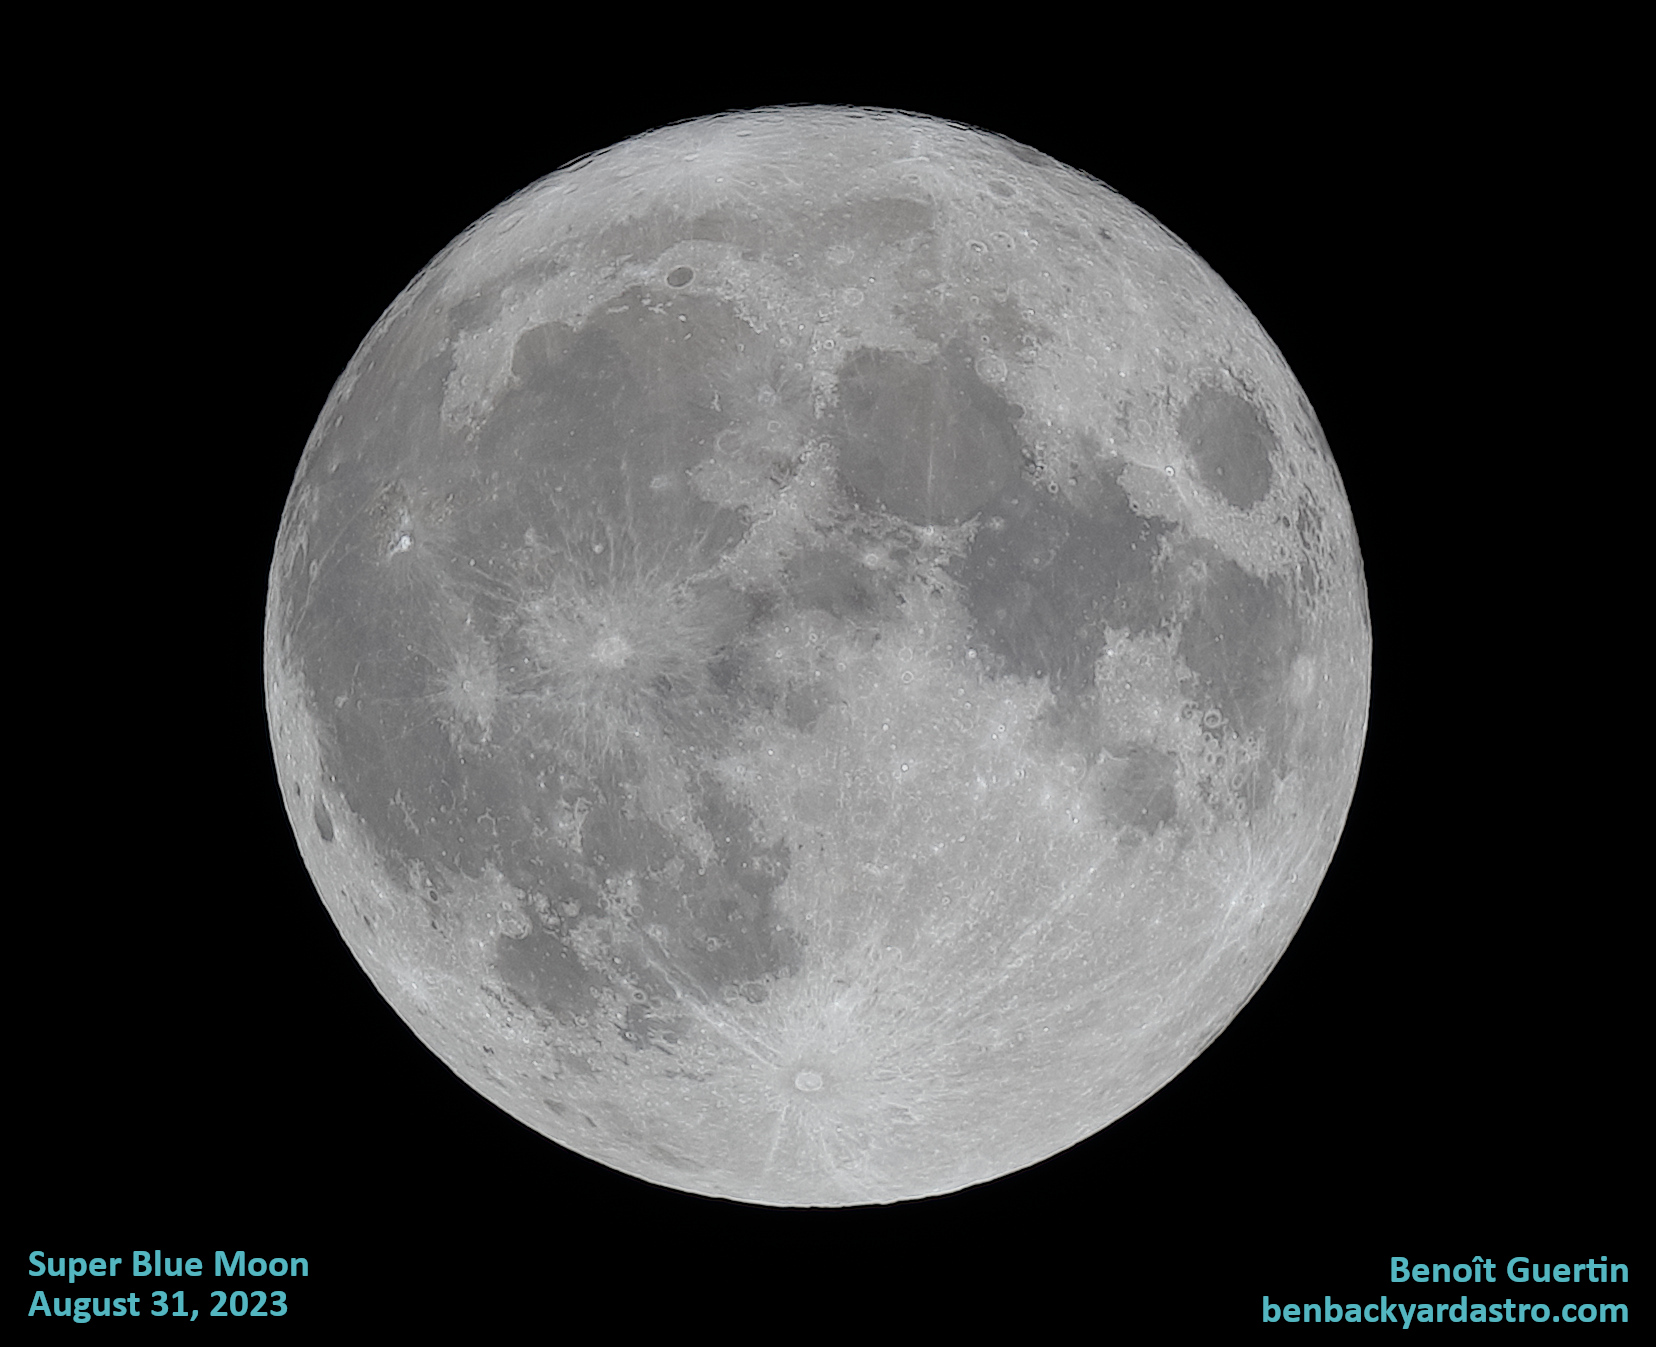
I had photographed partial eclipses in the past, so seeing the Moon creep in front of the sun was interesting but not spectacular. That all changed when the eclipse became total and I was able to remove the solar filter from the telescope and really appreciate the show.


The total eclipse was surreal and freaky, I now understood why many people chase the next eclipse. I may not have made it to my friend’s cottage in Sutton and experience this with a bunch of other people. Instead I was able to give 100% of my focus to my equipment to capture the beauty of a total eclipse.
If you have a fun and interesting story around your experience of the eclipse, please do comment below.