If you’re a fan of shooting stars, and want to catch bits of Comet Thatcher burn up in the atmosphere, you won’t want to miss the Lyrid meteor shower this April. The Lyrids are one of the oldest known meteor showers, dating back to ancient China and they can produce up to 20 meteors per hour at their peak. The meteor shower is caused by leftover debris from Comet Thatcher, a long period comet (415 year) that has only been observed once since discovery in 1861, and is scheduled to return no earlier than 2283.
But how can you enjoy this celestial spectacle if you live in the city, where light pollution can wash out the night sky? Here are some tips to help you catch a glimpse of the Lyrids this year.
- The best time to watch the Lyrids is between midnight and dawn on April 22nd to 23rd, when the shower reaches its maximum activity. However, you can also see some meteors a few days before and after this date, as the Earth passes through the debris trail left by comet Thatcher.
- The Lyrids appear to radiate from the constellation Lyra, which rises in the northeast after sunset and climbs high in the sky by dawn. You don’t need to look directly at Lyra to see the meteors, but it helps to find a spot where you have a clear view over the eastern horizon.
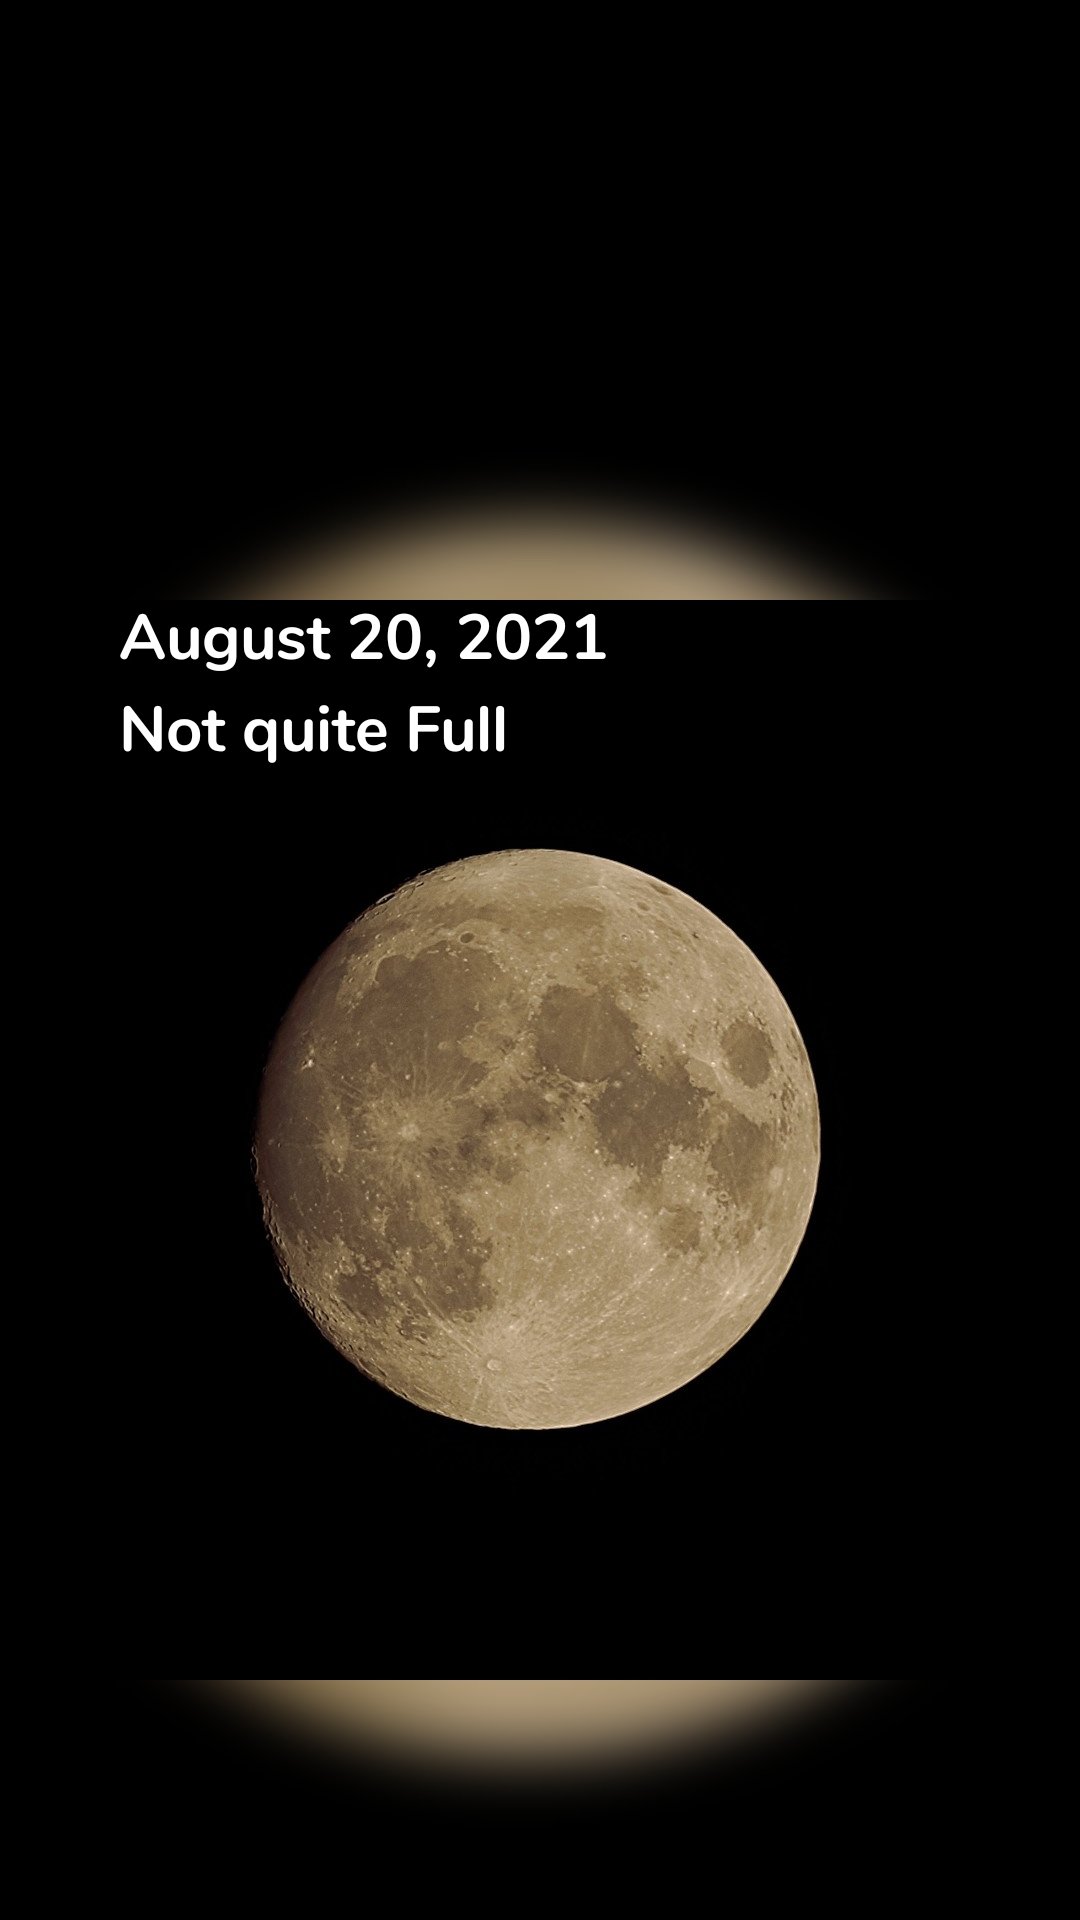
- To avoid light pollution, try to get away from bright streetlights, buildings, and cars. You can also use an app like Dark Sky Finder or Clear Sky Chart to find a dark location near you. If possible, drive or bike to a park, a hill, or a rural area where you can see more stars. As luck would have it the Moon, only at 10% illumination, will set just before midnight, removing one pesky light source.
- Once you find a good spot, let your eyes adjust to the darkness for at least 15 minutes. You don’t need any special equipment to watch the Lyrids, just your eyes and some patience. Dress warmly, bring a blanket or a chair, and maybe some snacks and drinks to keep you comfortable.
- If you’re not too sure where to look, the bright star Vega should help guide you, located East about 45 degrees over the horizon.
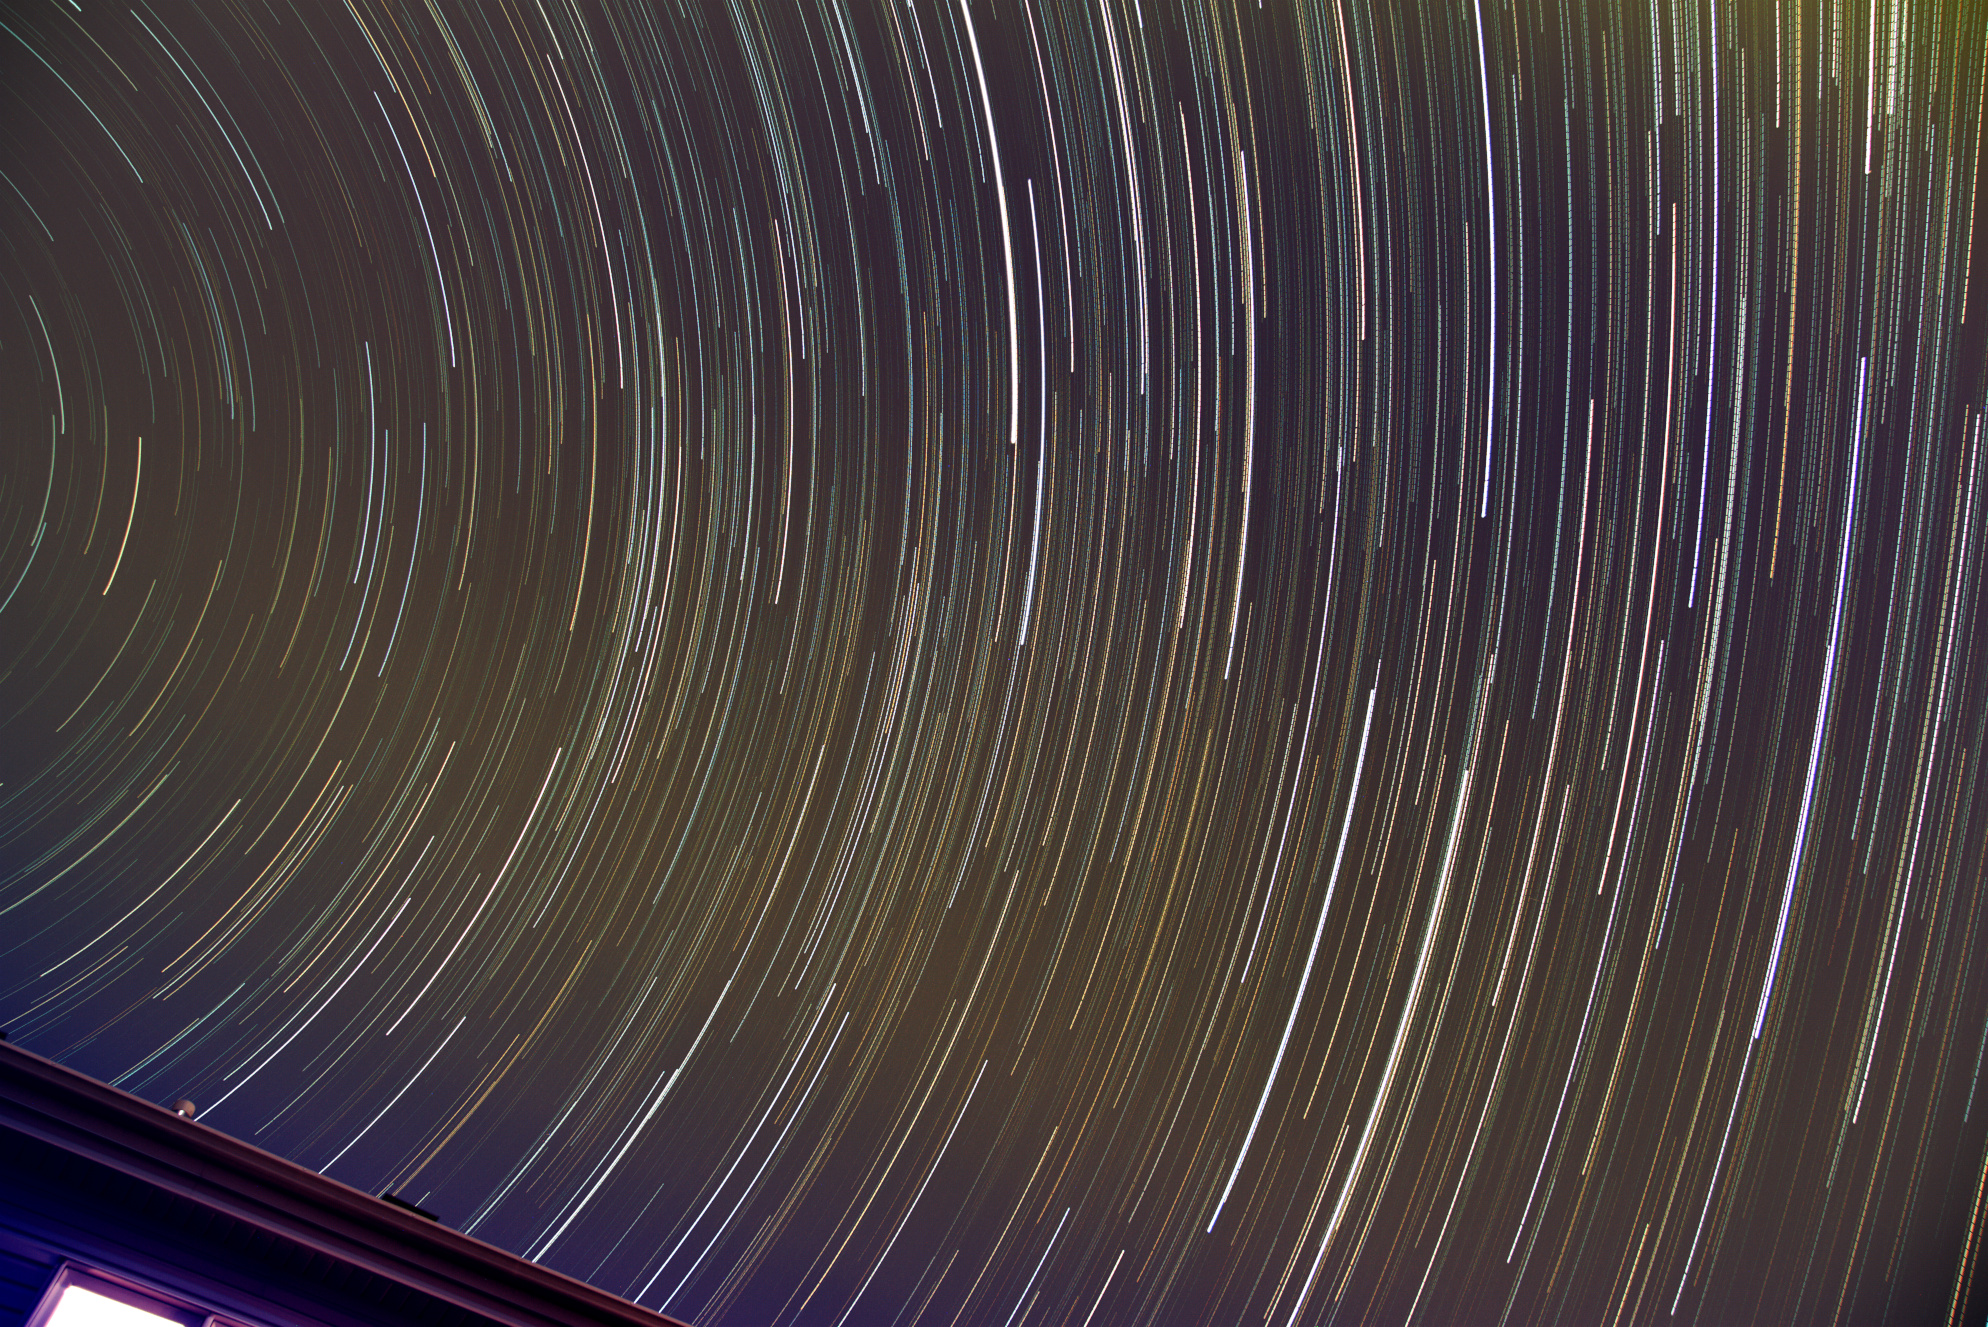
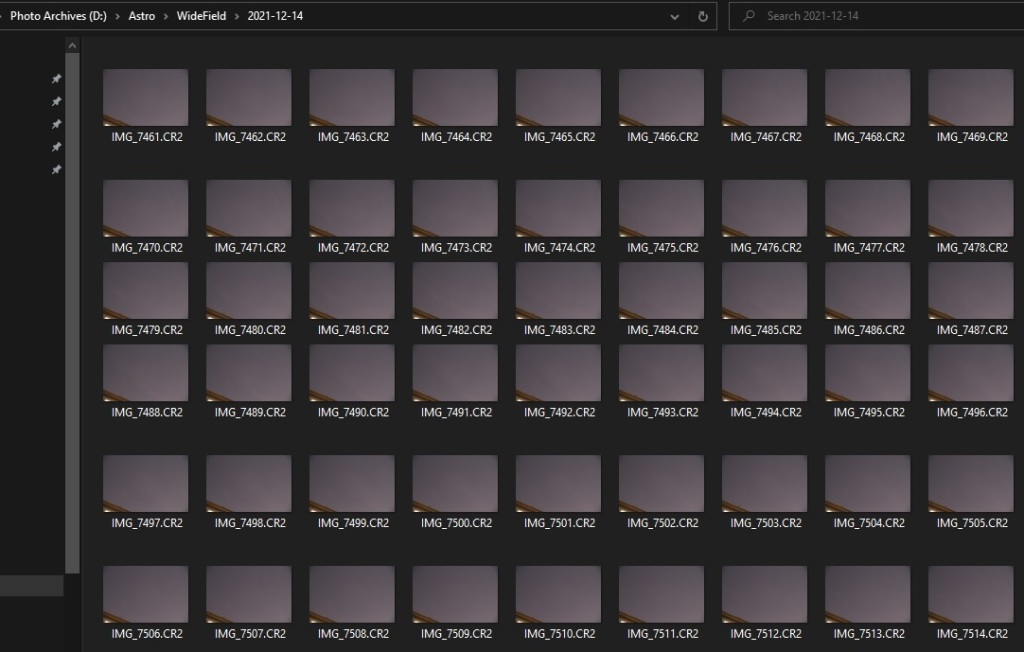
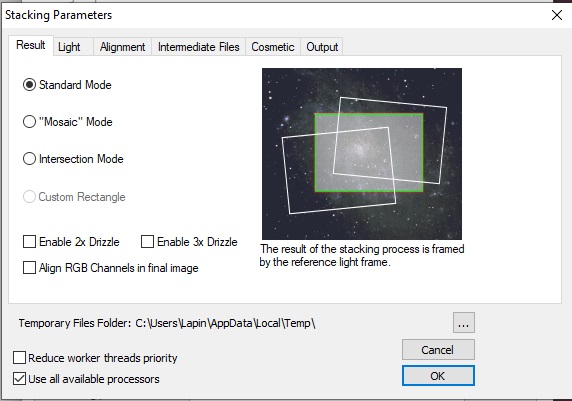
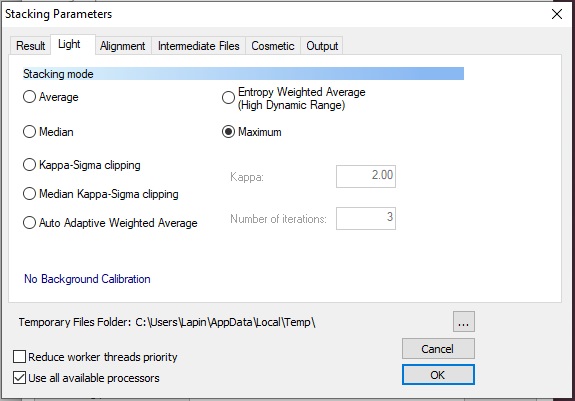
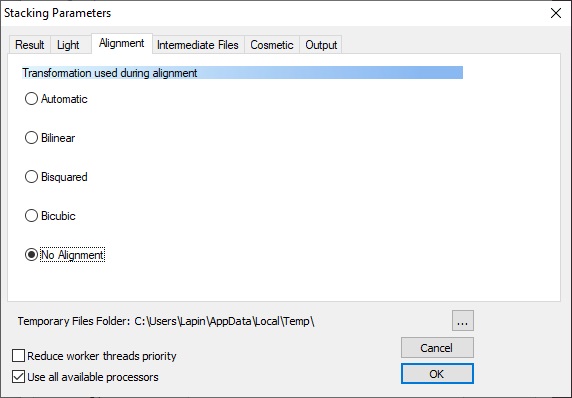
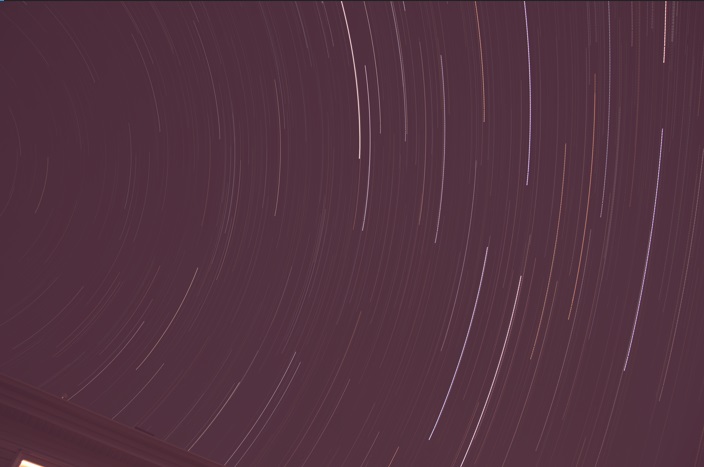
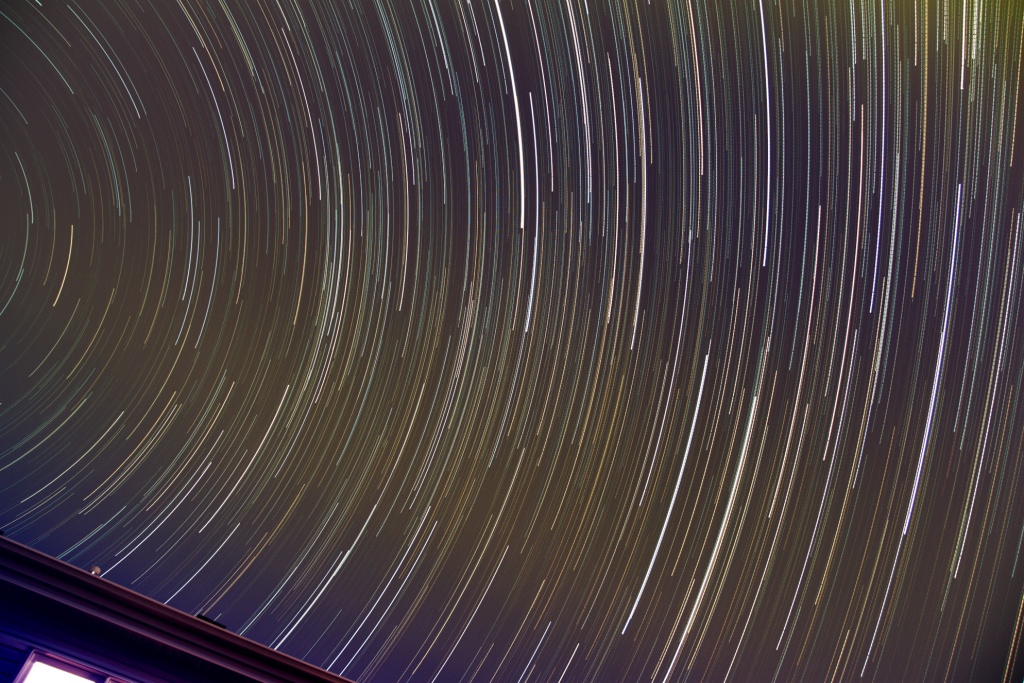
- You can also setup a camera on a tripod with a wide angle lens, taking multiple long exposures of about 20 seconds. Place the radiant of the meteor show on the edge of the frame to capture longer trails.

Enjoy the show! The Lyrids are known for producing bright and fast meteors, some of which can leave persistent trails in the sky. You might also see some fireballs, which are very bright meteors that can light up the whole sky.
The Lyrid meteor shower is a wonderful opportunity to connect with nature and marvel at the beauty of the cosmos. Don’t let the city lights stop you from experiencing this amazing event. Happy stargazing!


