
Creating a time-lapse video out of your individual photos is a simple matter with Microsoft Movie Maker. And the cool thing is that it will work with Canon RAW .CR2 format files, so no need to convert them to JPG ahead of time.
The following steps are performed with Windows8.
Step 1 – Select the sequence of images in Microsoft Photo Gallery
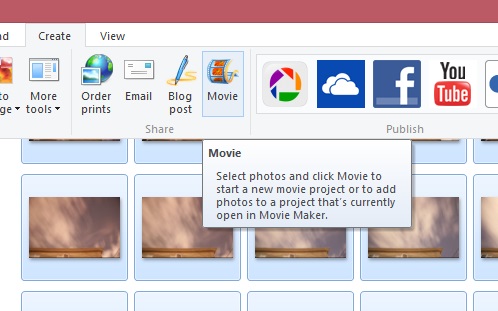
 Step 2 – Under Create select Movie. This will automatically launch Microsoft Movie Maker with the individual photos loaded in a new Movie Maker Project.
New Movie Maker Project created
Step 3 – Under Edit – Video Tools, change the duration between frames to a value less than 1.0- example 0.20.
 Step 4 – Save your movie in the format and resolution you wish. Voila! And why not add a title, caption and a soundtrack to go the extra mile.
Therefore set your camera on a tripod and start taking some pictures of the night sky.

Pingback: Tripod and a Camera? Make a TimeLapse | Ben Backyard Astronomy