
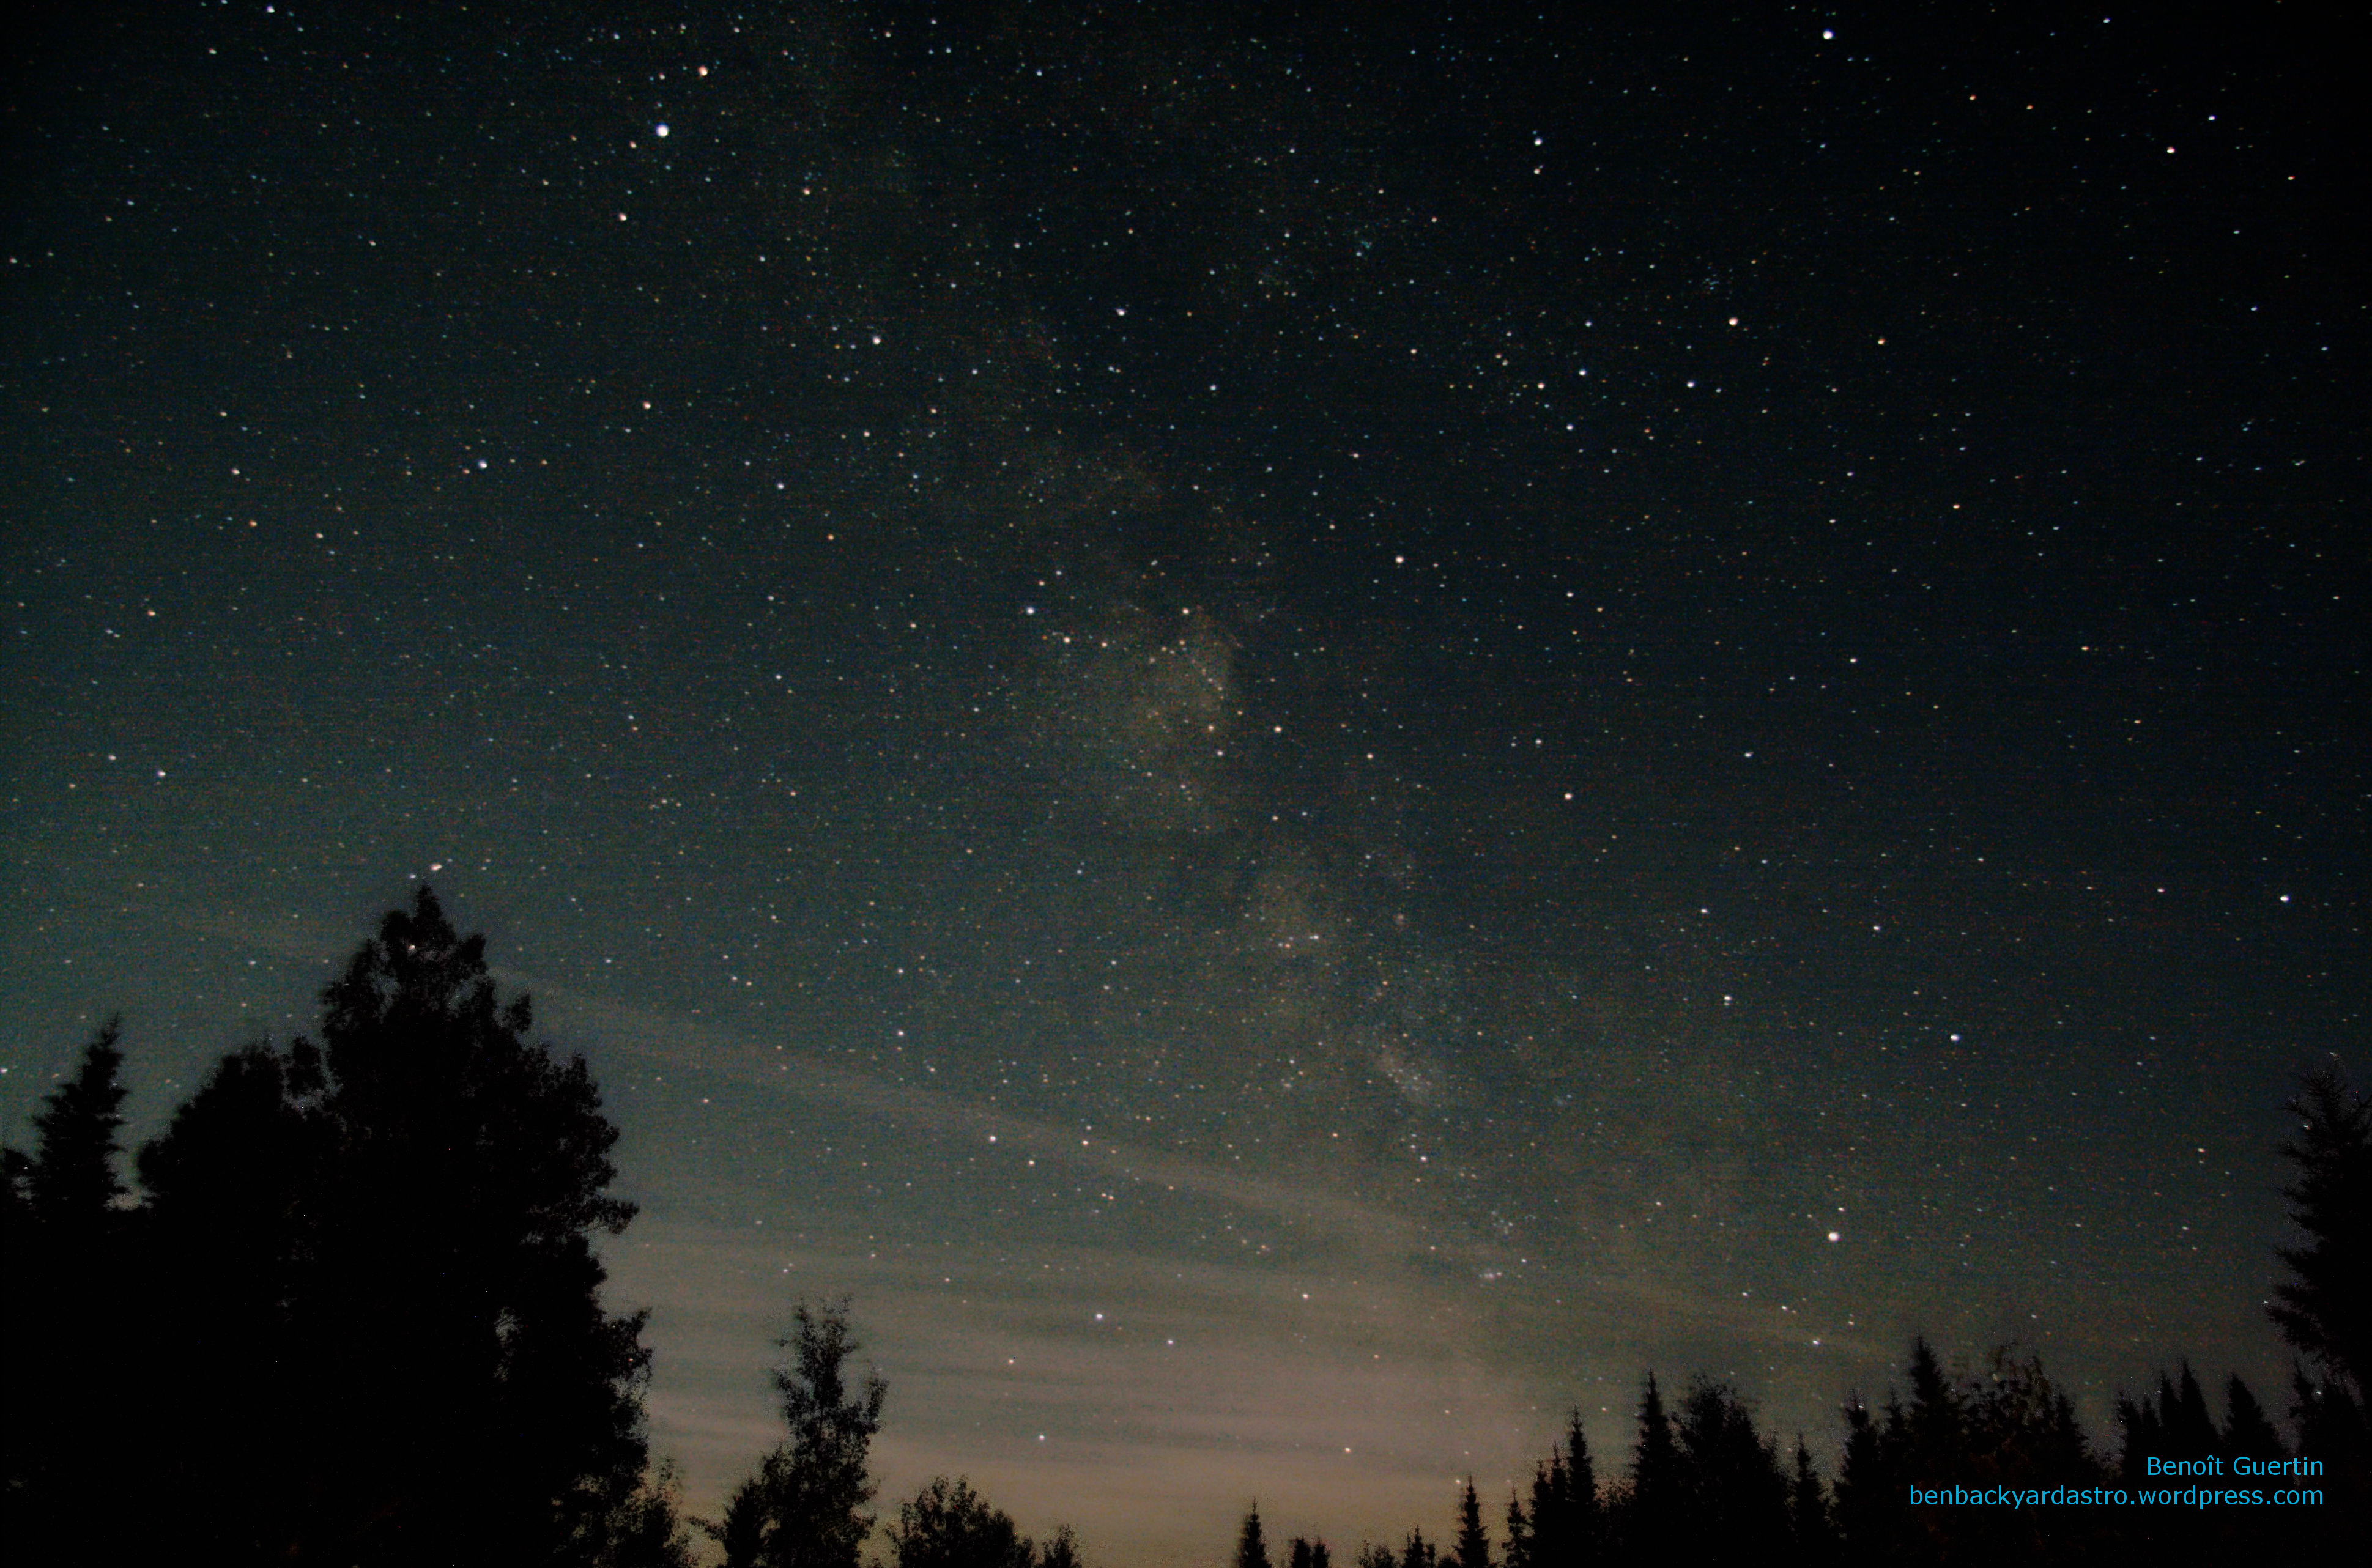
The summer is ideal time to view our galaxy. Because of Earth’s position with respect to the Milky Way, it runs north-south across the sky. Anyone with a camera and tripod can easily capture the Milky Way if you are located in a dark area, away for city lights. We were up north in the Malbaie, Québec area for vacation, so I took some time in the early night to observe and photograph the sky. Unfortunately, a full Moon was present in early August and the sky would actually brighten past midnight. The best time was around 11pm for any good viewing and astrophoto. Click on the photo for a high-resolution version.

Milky Way – Sagittarius (just above the trees) to Altair (bright star upper left)
Here is a quick run-down of a quick setup if you want to give it a try:
- Use as short a focal length as you can, 15mm to 25mm is good.
- Set the camera to MANUAL for everything, including the focus and disable any image stabilization. Due to the low light level the camera’s electronic won’t be able to automatically focus or stabilize, so disable them. It’ll just seek and ruin your setup and photos.
- Set the ISO to a high value; 800 on older cameras and 3200 on newer models. Higher ISO will give you a brighter image, but with more noise. You can test various ISO settings to see which one you are comfortable with. If you are planning on taking many images and stacking them, you can run with a higher ISO as the stacking process will increase your signal-to-noise ratio.
- Set the aperture opening as large as possible. Larger openings bring in more light, but depending on the quality of the optics will distort the stars around the edges of the frame. If you see that the stars stretch near the edges, simply stomp it down one or two stops. Trial and error is best to find the right setup. If you’re not sure simply go with a large opening and you can later crop the image if the results isn’t pleasing.
- Set to capture in RAW, this is best for post-processing.
- Look on your lens and set the focus to infinity; this is where you’ll start. If you don’t know where infinity is, look at a faraway object and manually focus on it.
- Mount the camera on a tripod and aim at the desired part of the sky.
- If you have live preview, use it to fine-tune the focus to get the stars as small as possible. Don’t forget that you can often ZOOM in on the live preview screen. If you don’t have live preview (like mine) simply take 3 short test photos (5 seconds each) adjusting the focus in the same direction between each photo. Review the three shots to see which one has the smallest stars and repeat this until you’ve achieved what you believe to be the best image.
- Set the exposure time to 20 seconds. With focal lengths in the 15-25mm range the stars will remain relatively round.
- Take as many photos as you wish.
You can experience with different setups (F-stop, ISO, focal and exposure lengths) and you’ll be able to review and compare later to see which gives you the best image. That way the next time you’ll have your GO-TO setup for great shots.
The above was a stack of 4 images taken 17mm F/4, 20 seconds at ISO 800.
I also identified the constellations and some interesting objects in the above shot.

Objects in the Milky Way
