The Great Rift

At one point in time we’ve heard the saying that we are all made of star dust. Therefore, our home , the Milky Way, filled with 250 billion stars should be rather dusty. Right? Well it is, and one famous dust lane that we often see even has a name: The Great Rift.

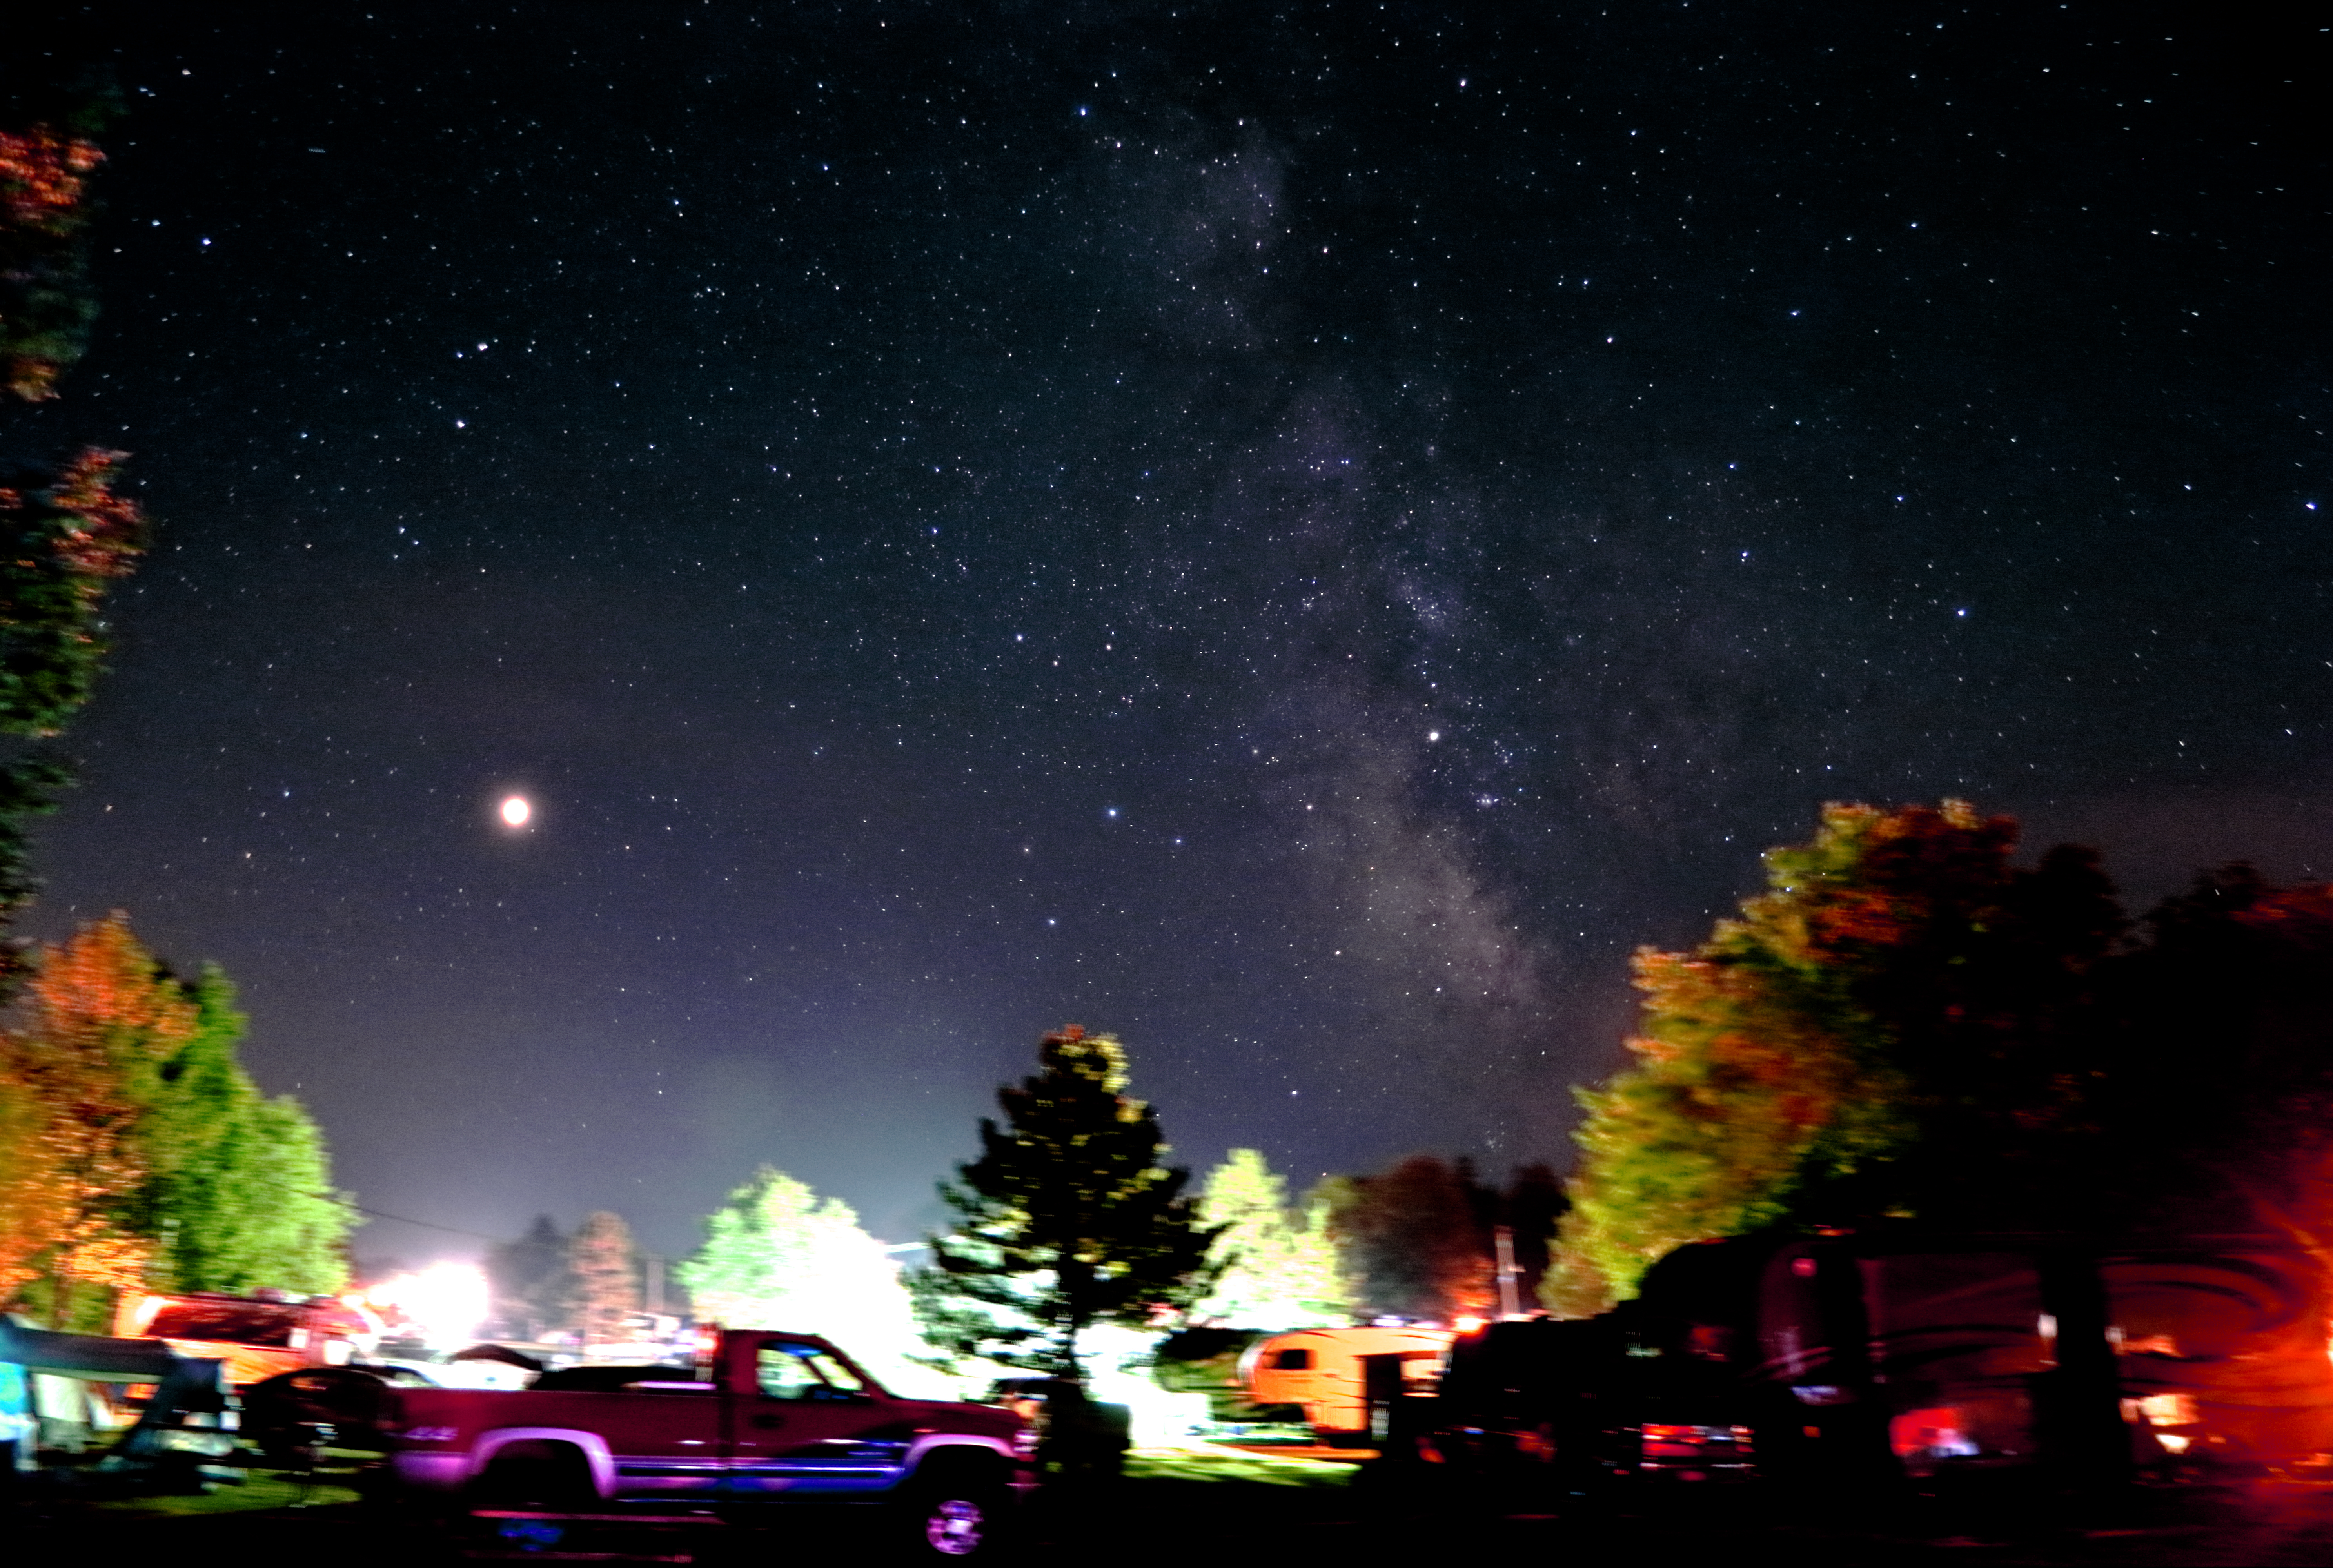
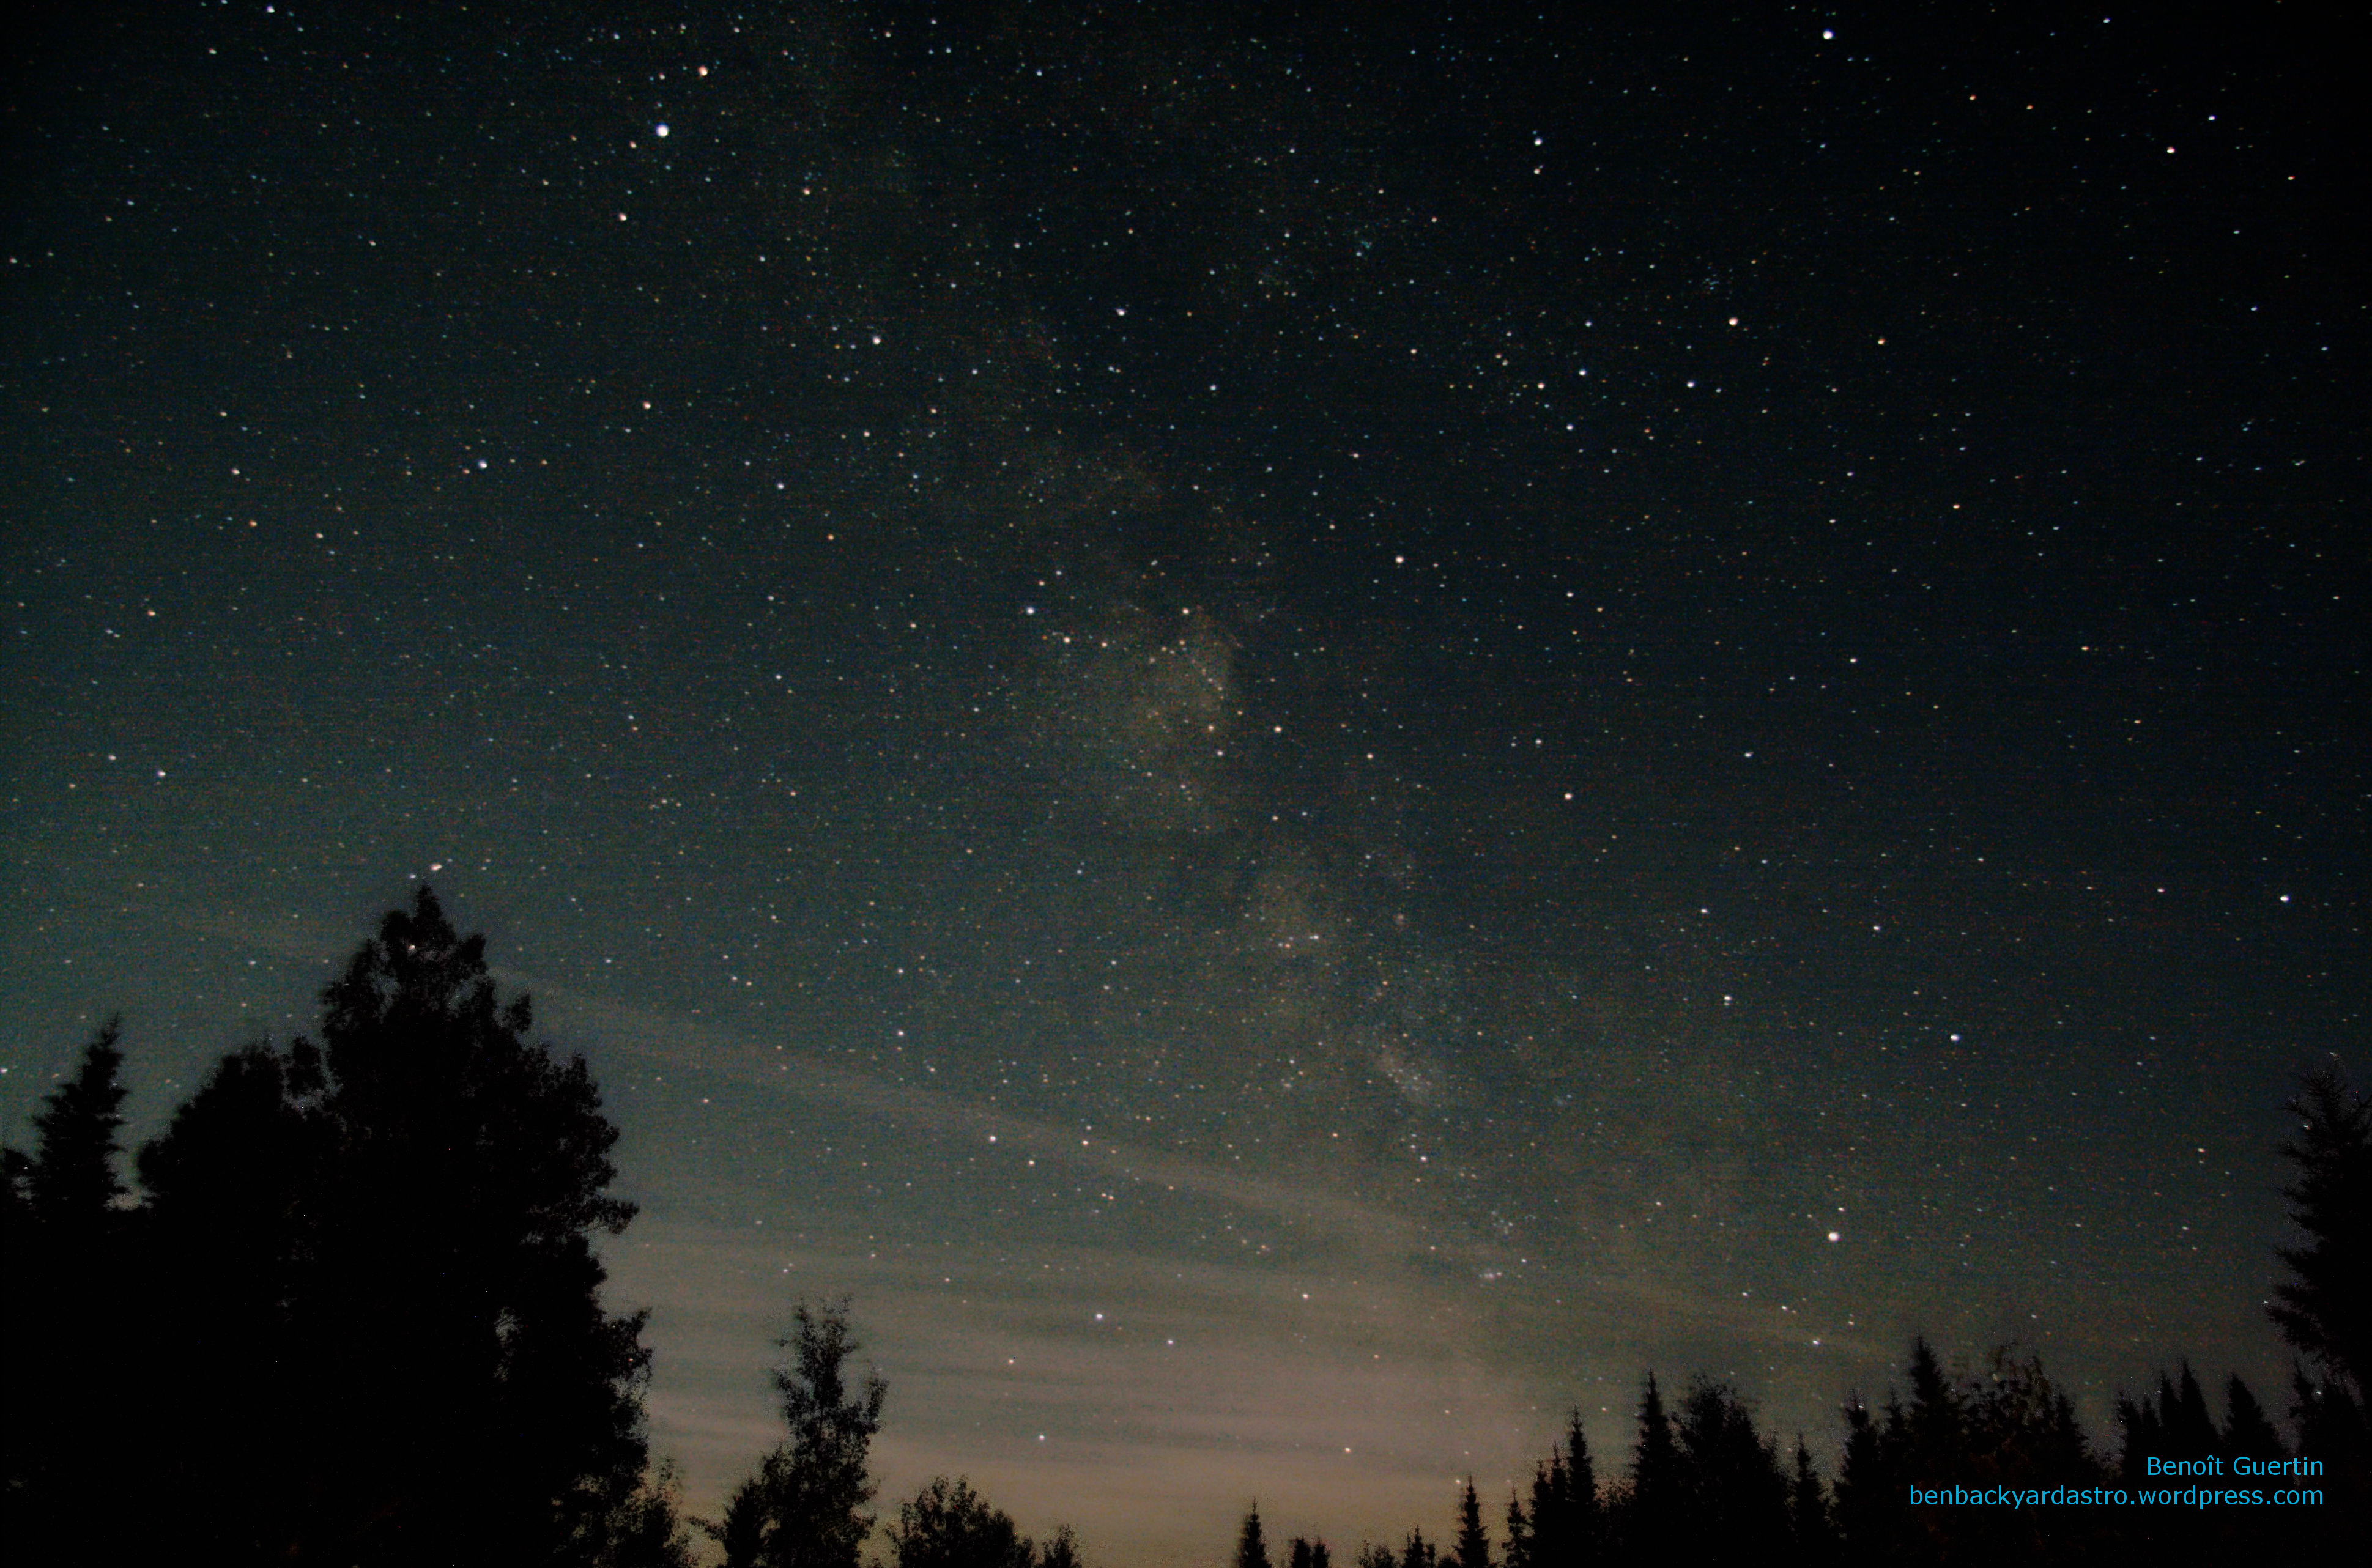
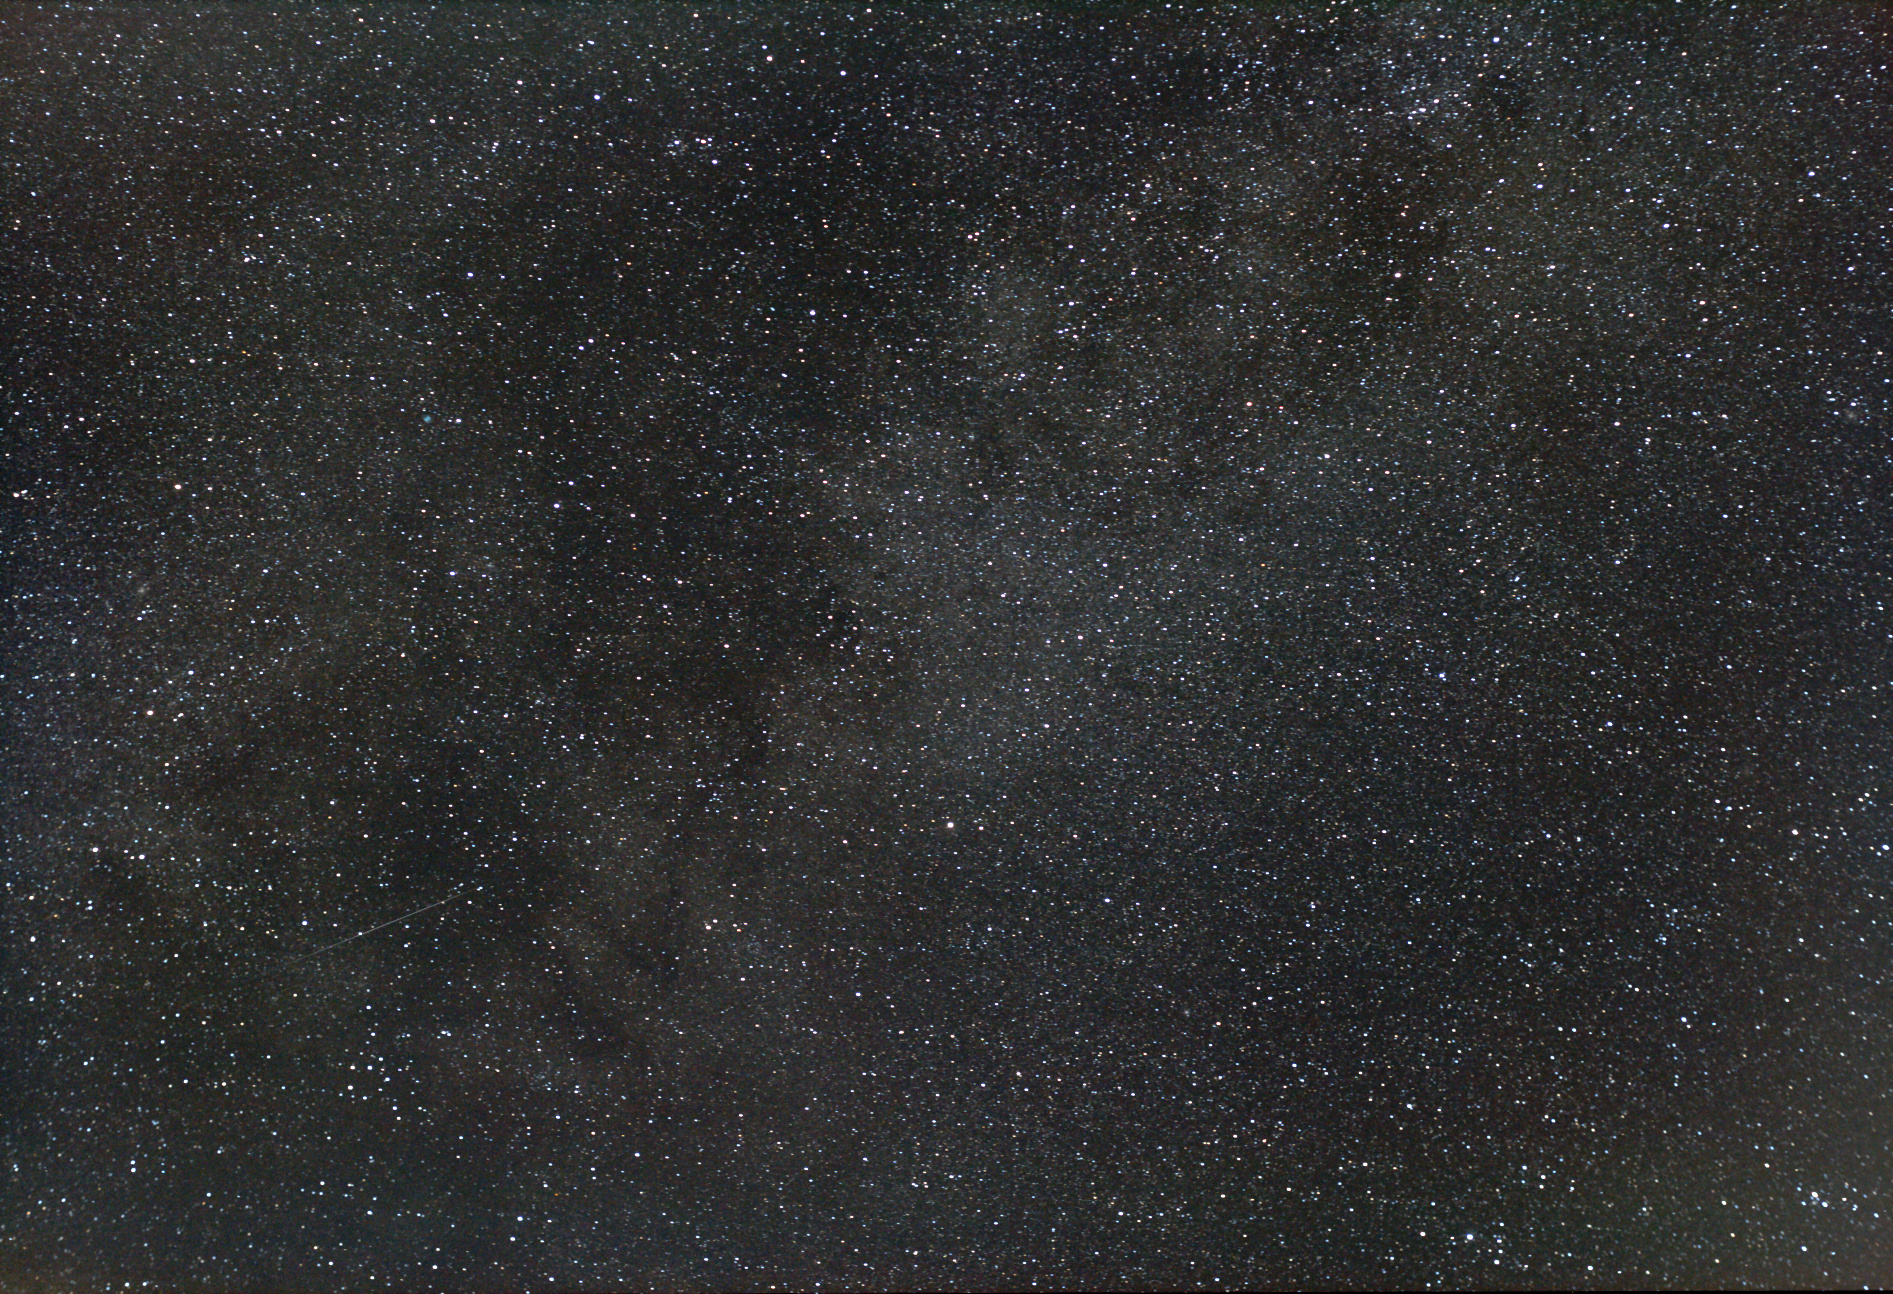
Say that you are out camping this summer, and you spot the MilkyWay as you are amazed how many stars you can see when away from the city. You remember you have your camera and decide to setup for some long exposure shots to capture all this beauty (lets go for 20 seconds at ISO 3200 17mm F4.0) pointing to the constellation Cygnus. A bit of processing and you should get something like this.

The Milky Way centered on the constellation Cygnus.

Not bad! Lots of stars… a brighter band where the Milky Way arm of the galaxy is located and some darker spots at various places. Those darker areas are gigantic dusk clouds between Earth and the arms of our spiral galaxy that obscure the background stars. If only there was a way to remove all those stars, you could better see these dark areas.

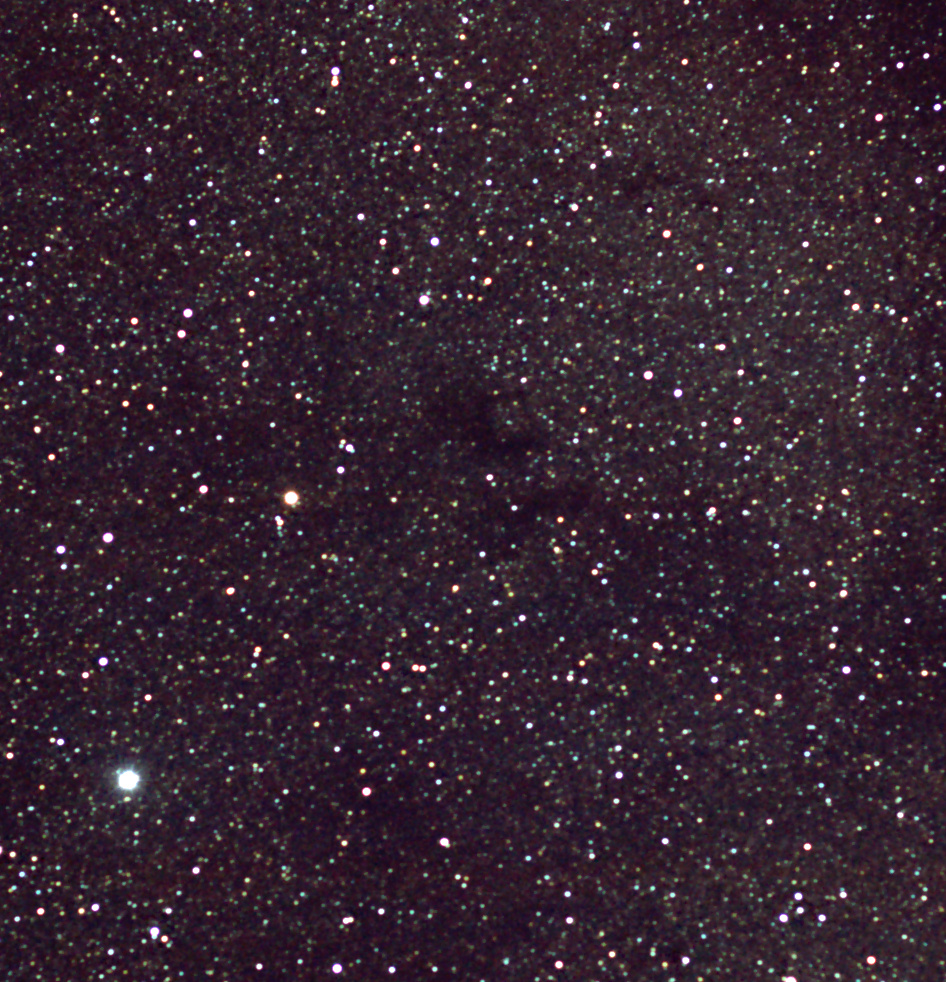
And there is a way to remove stars! It’s called StarNet++, takes a load of CPU power and works like magic to remove stars from photos. Abracadabra!

Above image after processing with the StarNet++ algorithm

Behold! The Great Rift! Well actually just a portion of it. With the camera setup I get at most a 70deg field of view of the sky. Nevertheless, the finer details of these “dark nebula” can be appreciated.

Stripping the stars from an photo does have some advantages: it allows the manipulation of the background “glow” and dusk lanes without concern to what happens to the foreground stars. The resulting image (a blend of both the starless and original image) had improved definition of the Milky Way, higher contrast and softer stars that improve the visual appeal.

While there are plenty of stars above us, what defines a nice Milky Way shots is the delicate dance of light and darkness between the billions of stars and the obscuring dust clouds.

Photo Info:
Canon 80D
13 x 20 sec (4min 20sec integration time)
17mm F4.0 ISO3200
Deep Sky Stacker
IRIS for background gradient removal and color adjustment
StarNet++
GIMP for final processing

Mars and the Milky Way

Campgrounds are offer good occasions to observe the night sky; away from the city lights or industrial parks.  And with little more than a camera on a tripod, some fantastic pictures can be taken.

But there are two drawbacks:
1) Campers make campfires that create a haze near the ground.
2) Trailers and vehicles often have lights on that ruin the show.

Mars (left) and the Milky Way - Benoit Guertin

Mars (left) and the Milky Way – Benoit Guertin

The Milky Way (Sagittarius to Aquila)

The summer is ideal time to view our galaxy.  Because of Earth’s position with respect to the Milky Way, it runs north-south across the sky.  Anyone with a camera and tripod can easily capture the Milky Way if you are located in a dark area, away for city lights.  We were up north in the Malbaie, Québec area for vacation, so I took some time in the early night to observe and photograph the sky.  Unfortunately, a full Moon was present in early August and the sky would actually brighten past midnight.  The best time was around 11pm for any good viewing and astrophoto. Click on the photo for a high-resolution version.

Milky Way - Sagittarius (just above the trees) to Altair (bright star upper left)

Milky Way – Sagittarius (just above the trees) to Altair (bright star upper left)

Here is a quick run-down of a quick setup if you want to give it a try:

  1. Use as short a focal length as you can, 15mm to 25mm is good.
  2. Set the camera to MANUAL for everything, including the focus and disable any image stabilization. Due to the low light level the camera’s electronic won’t be able to automatically focus or stabilize, so disable them.  It’ll just seek and ruin your setup and photos.
  3. Set the ISO to a high value; 800 on older cameras and 3200 on newer models. Higher ISO will give you a brighter image, but with more noise.  You can test various ISO settings to see which one you are comfortable with.  If you are planning on taking many images and stacking them, you can run with a higher ISO as the stacking process will increase your signal-to-noise ratio.
  4. Set the aperture opening as large as possible. Larger openings bring in more light, but depending on the quality of the optics will distort the stars around the edges of the frame.  If you see that the stars stretch near the edges, simply stomp it down one or two stops. Trial and error is best to find the right setup.  If you’re not sure simply go with a large opening and you can later crop the image if the results isn’t pleasing.
  5. Set to capture in RAW, this is best for post-processing.
  6. Look on your lens and set the focus to infinity; this is where you’ll start. If you don’t know where infinity is, look at a faraway object and manually focus on it.
  7. Mount the camera on a tripod and aim at the desired part of the sky.
  8. If you have live preview, use it to fine-tune the focus to get the stars as small as possible. Don’t forget that you can often ZOOM in on the live preview screen.  If you don’t have live preview (like mine) simply take 3 short test photos (5 seconds each) adjusting the focus in the same direction between each photo. Review the three shots to see which one has the smallest stars and repeat this until you’ve achieved what you believe to be the best image.
  9. Set the exposure time to 20 seconds. With focal lengths in the 15-25mm range the stars will remain relatively round.
  10. Take as many photos as you wish.

You can experience with different setups (F-stop, ISO, focal and exposure lengths) and you’ll be able to review and compare later to see which gives you the best image.  That way the next time you’ll have your GO-TO setup for great shots.

The above was a stack of 4 images taken 17mm F/4, 20 seconds at ISO 800.

I also identified the constellations and some interesting objects in the above shot.

Objects in the Milky Way

Objects in the Milky Way

How Many Stars?

Image

Looking at the sky at night from your backyard you’ll probably be able to see about 50 stars, more if you are away from the city.  So how many do you think is in the frame below?

Portion of the Milky Way near Vulpecula.

Portion of the Milky Way near Vulpecula.

Taking a 200 x 200 pixel sample in the middle I counted 155 stars.  Hence extrapolated to the entire picture comes to 38,000 stars for this 18 x 10 degree portion of the sky.  OK I cheated in taking a picture of a portion of the Milky Way… Nevertheless that is a rather small fraction of the 300 billion stars estimated within our own Milky Way.

Bonus if you can spot the meteor!  Showed up in a single 30sec frame, which I added separately in post processing, else it would have been eliminated from the final image as it’s a random event and I always use a sigma distribution for my stacking.   Hint: it’s located just above open cluster CR399, also known as Brocchi’s Cluster.

Stitching Together the Milky Way

Image

To get a nice view of the Milky Way I would need to get far away from the city lights and a short focal, wide-angle lens.   Also most new DSLR are quite impressive in low light conditions to suppress noise at ISO settings above 1600.  My old Canon XTi (450D) is best kept at 400… but when stacking many frames I can go up to 800 as the noise gets reduced in the process.  Hence when planning of astro-photo session, you need to balance the level of noise and the number of frames you’ll stack.  Also ensure that the light pollution or background brightness level never exceeds 3/4 of your intensity level else you are clipping and loosing information.

The image below is two processed images taken with a 50mm lens on two different days (30 seconds exposure at ISO 800) stitched together the old fashion way: manually in a photo editor.

Milky Way around constellation Vulpecula

Milky Way around constellation Vulpecula – Benoit Guertin

Click on the above image for a a larger version and try to find the planetary nebula Messier 27.  Hint: it’s blue.

Dark Nebula – Barnard 142 and 143

Image

In my previous post I captured a hint dark nebula Barnard 142 and 143.  But as the lens drifted out of focus, I could only use a few frames (14 out of 60).  At the next clear sky I aimed Altair in the constellation Aquila with the goal to capture a good 60 frames in-focus to once again capture Barnard 142 and 143.

Dark Nebula Barnard 142 and 143 near Altair (Aquila)

Dark Nebula Barnard 142 and 143 near Altair (Aquila)

The entire image scaled 40% (the above is a crop) is available here.

Canon XTi
50mm F3.2 ISO800
59 x 30sec (29.5 minutes of integration)