On the same night that I imaged Messier 44 I decided to hop over to another nearby open cluster: Messier 67. While M44 appears three times larger, both of these open clusters are estimated to be of roughly the same size, but M67 happens to be 5 to 6 times farther away.
Click on the image to get the full image, it’s scaled and cropped below.
Open Cluster Messier 67 Benoit Guertin
Telescope: Sky-Watcher 80ED
Camera: Canon XTi (ISO 400)
Image: 19 x 30sec
Yesterday when I processed and posted the open cluster Messier 44, I noticed I had captured a faint galaxy in the background. So while the stars in the open cluster are within our galaxy at a distance of 577 light years, that faint galaxy UGC 4526 is located at 200 million light years away. Therefore the photons captured by my 80mm telescope lens in my backyard and counted by my Canon camera exited the stars within that galaxy at the start of the Jurassic period when dinosaurs just became the dominant vertebrate on land. The light travelled 1,903,000,000,000,000,000,000 km to land on the camera sensor where each pixel is no bigger than 5.7micro-meter. Pretty mind-blowing when one thinks about it!
Magnitude 14 Galaxy UGC 4526 in M44 Benoit Guertin
In January Meade launched the Series 5000 MWA Eyepiece. With an apparent field of view of 100deg, this is the widest available from Meade. Currently only four focal lengths are available: 5mm, 10mm, 15mm and 21mm. The 5 and 10mm are available in 1.25in while the 15 and 21mm are only in 2in.
Overall this is an evolution on the Meade UWA with improved AFOV and eye relief, but with half the 5000 series Xtreme Wide Angle’s price.
Planetary imaging is usually where everyone starts. The targets are bright objects in the sky such as the Moon and the planets that don’t require long exposures; Venus, Mars, Jupiter and Saturn. And because there are no long exposures, no need for a mount that tracks. The electronics of a webcam allows between 5 and 60 frames per second (fps), more than enough to get a good image that can be used with any sized telescope, and the result is a AVI movie that can be easily processed.
There are two ways to use the webcam:
Prime focus: the original webcam lens is removed and the telescope becomes the lens; like swapping lens on a SLR camera. Magnification is provided by the focal length of the telescope and the optional use of a barlow lens.
Eyepiece projection: the webcam replaces the eye and the magnification is provided by the ratio of telescope focal length to eyepiece focal length.
In my case I went with a prime focus solution, hence I needed a webcam where the original lens could be removed and replaced with an 1.25″ adapter to fit into the telescope’s focuser.
Philips Vesta Pro 680K webcam modified for use on telescope
The camera sensor, be it CMOS or CCD is sensitive to a wider spectrum than the human eye, therefore most have build-in UV and IR filter, either on the lens or the sensor. As this filter was on the original webcam lens I purchased a BAADER UV-IR Rejection 1.25″ #2459207 filter for use with the adapter. Refractors have a challenge getting all colours focused at the same spot, and even with an APO scope what falls in the UV and IR range will generally appear out of focus. Best to keep those out with a filter.
Today a good planetary imager can be purchased for under $200, but when I started, most astronomy imaging devices ran in the $1000+ camp. The Philips Vesta 680K was rather popular as a wonderful man by the name of Steve Chambers figured out how to easily modify the webcam electronic to get much longer exposures. The Vesta was also equipped with a CCD-based sensor, more sensitive than the CMOS technology used in most webcam. These modified webcam became to be known as Vesta-SC.
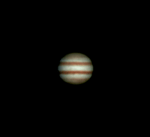
I’ve spotted Jupiter, can I take a photo? Actually you should take a video. The reason is that there is a great deal of turbulence in the atmosphere and this causes the image to blur and giggle about. By taking a video you are doing two things:
Capturing a large quantity of images which can be later processed
May happen upon a brief period of atmospheric stability
Here is a 30 second segment of Jupiter with my setup
I recommend taking a few videos with different settings such that you’ll be able to see after which provided the best results. Select an uncompressed format such as AVI as to not get compression artifacts, and AVIs are easily broken into individual image frames.
Software such as IRIS or REGISTAX can be used to process the video. REGISTAX is actually quite good and painless at doing this. Don’t be intimidated by the large number of settings and parameters, you can get great results out-of-the-box with the default settings.
The process breaks down into 5 steps:
Select your target (what you want the software to track on)
Filter on the frames that have good image quality; only keeping those that are sharp and resemble each other
Align (register) the individual images
Stack the individual images
Wavelet analysis and final brightness/colour balance
Because of the high number of images, you can actually improve image resolution by up-sampling or drizzling the image prior to stacking. The end result is often an image that can be scaled up by 2x while maintaining resolution.
Wavelet analysis is a type of sharpening, similar to unsharp-mask, but treating each level of granularity as a different “frequency”. While unsharp-mask is tuned to a specific size of detail, wavelet is able to treat various levels of details as different layers of the image and add the results.
Jupiter is a good target right now as it’s high in the sky, so you’re not looking through too much atmosphere and turbulence. Now this is far from my all-time best shot, but after a 3 year break, I’m a … Continue reading →
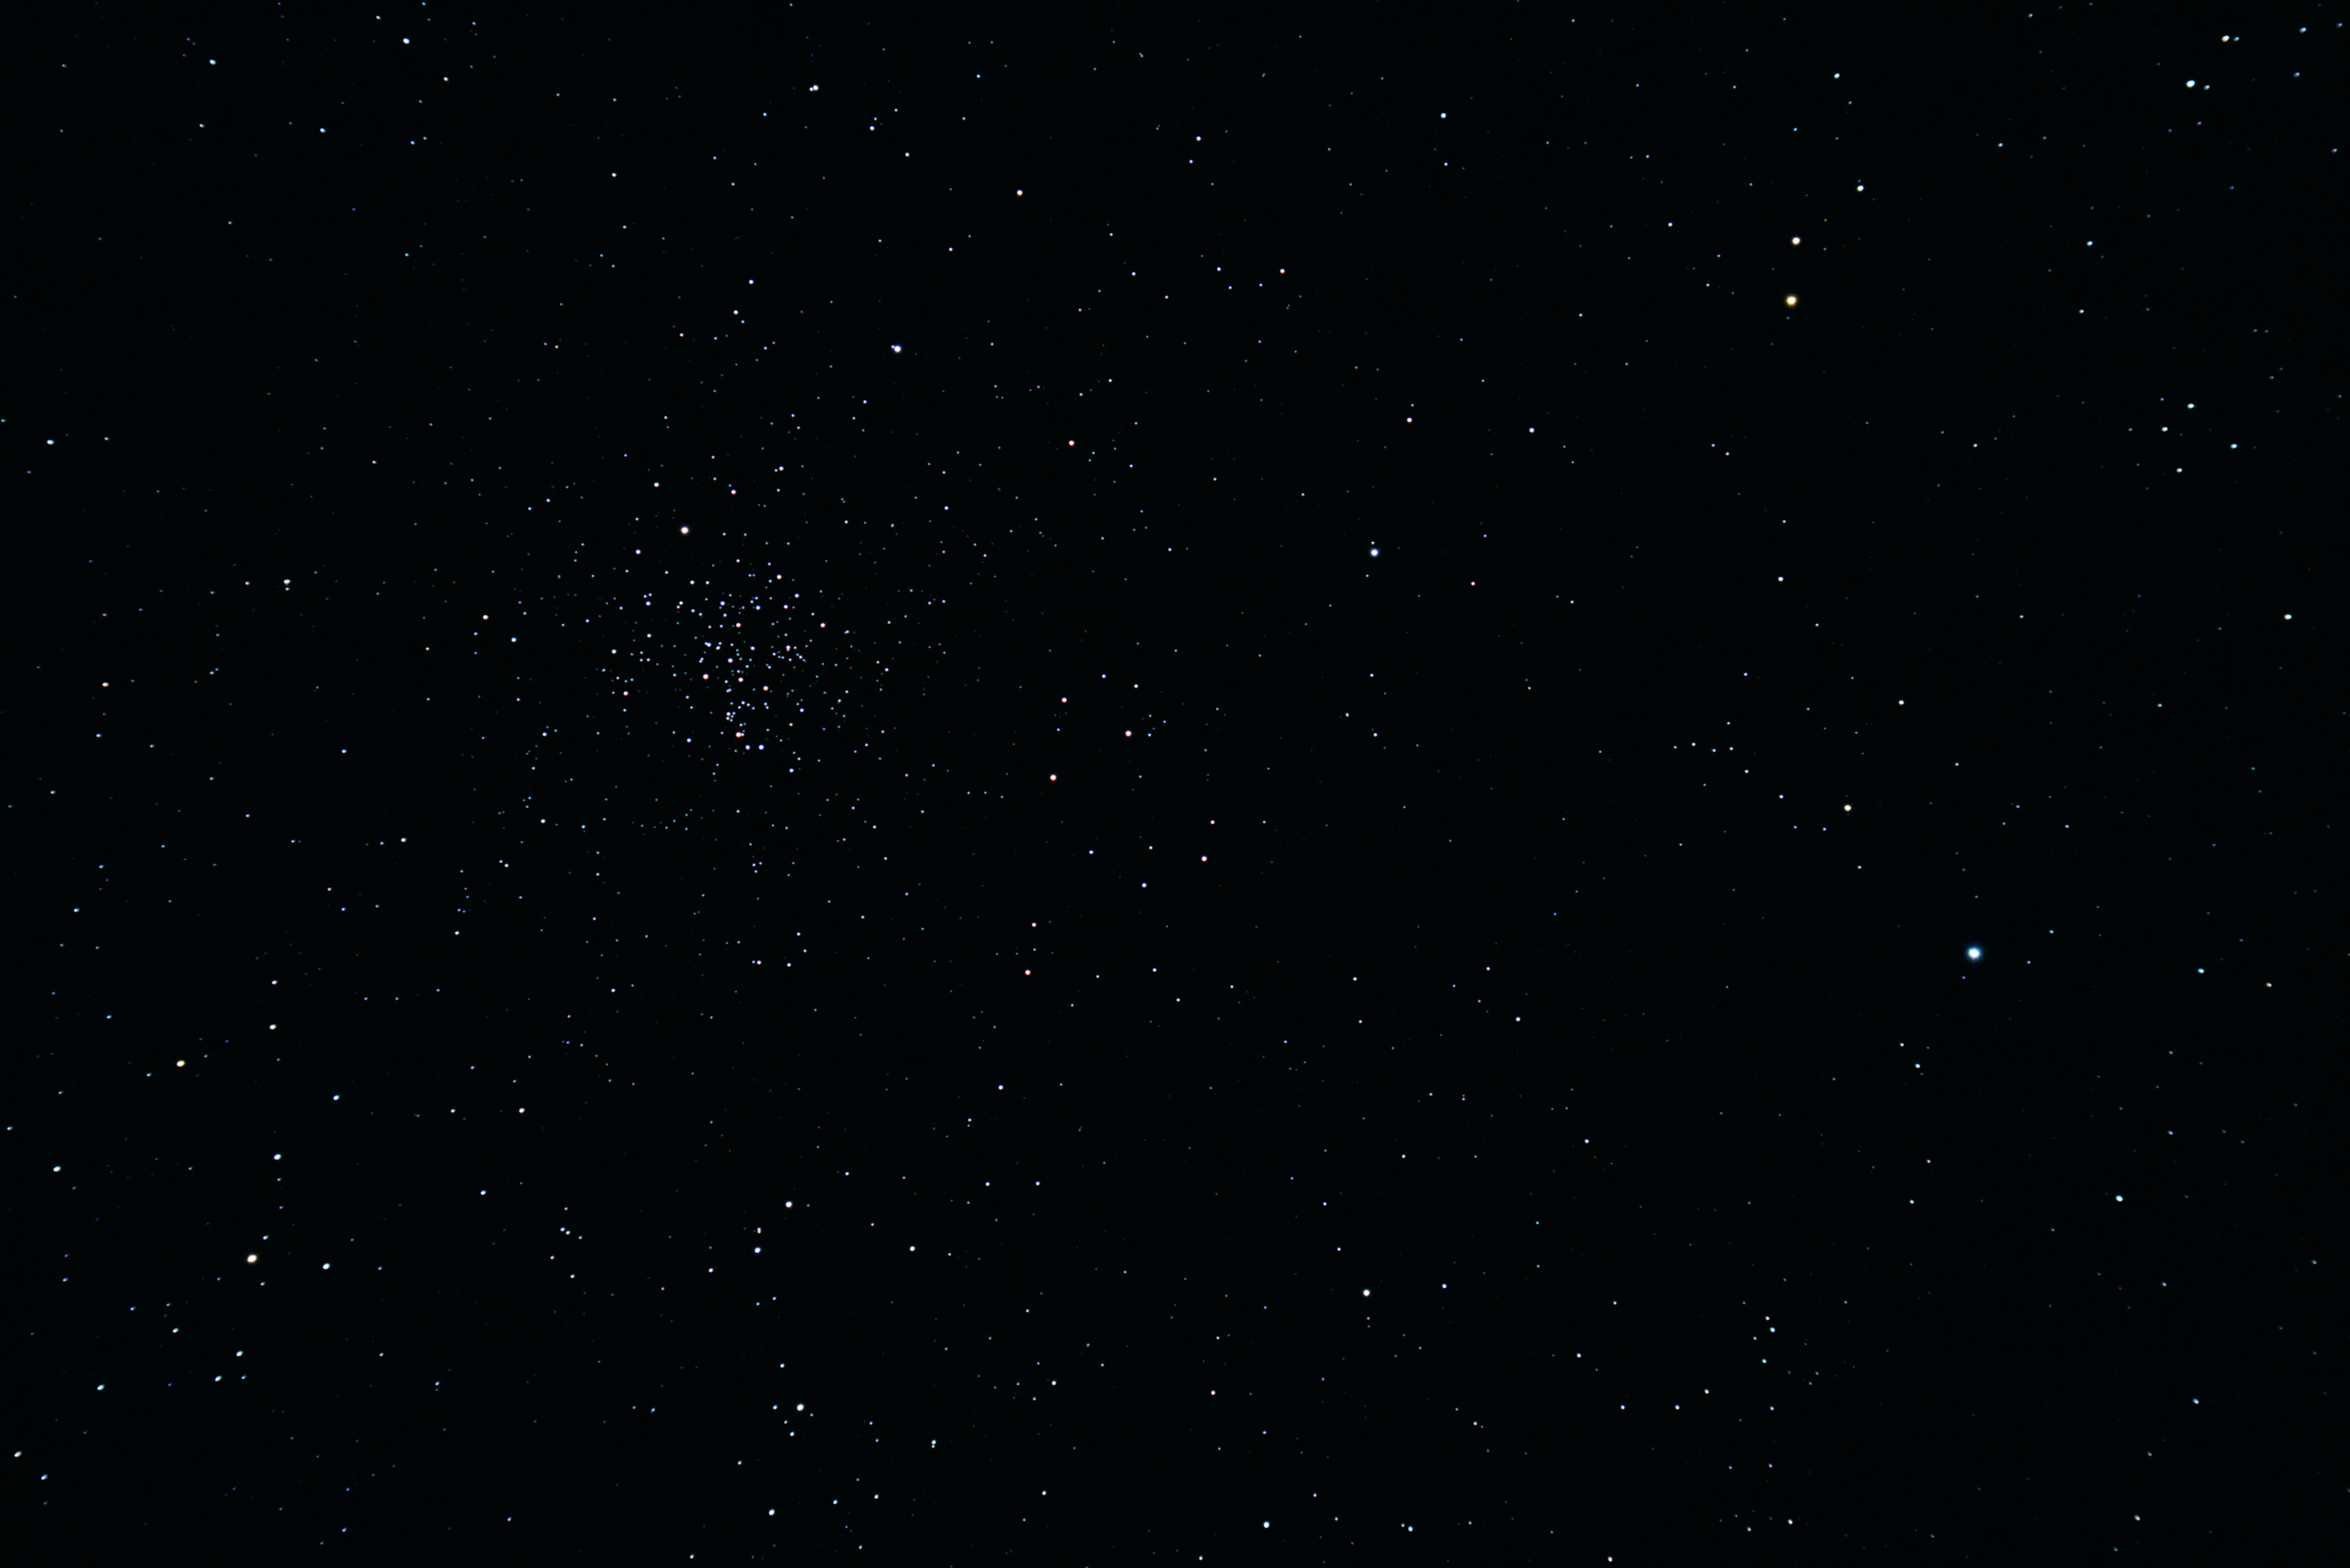
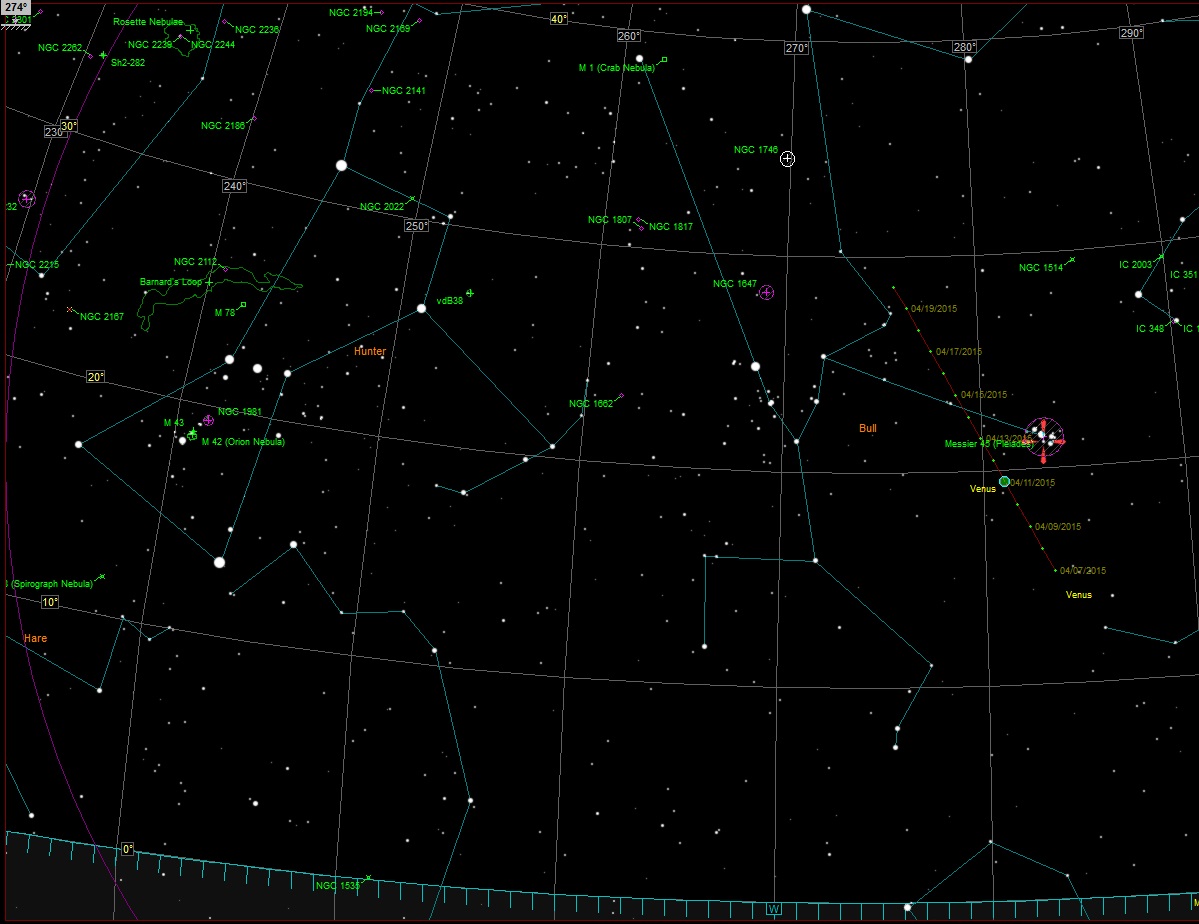
There is a great weekend observation and photo opportunity as Venus is passing within a few degrees of the Pleiades open star cluster (Messier 45). You won’t need a sky chart for this one, simply look West in the evening and Venus should be easily spotted as the brightest point in the sky. The Pleiades can be observed without any instruments, but if you have binoculars you’ll better appreciate this open star cluster also called Seven Sisters.
A camera and a tripod? Why not! Try different settings to see which one give you the best results.
Around April 10th, Venus will pass within 2deg of the Pleiades (Messier 45)
While you are checking out that part of the sky, scan 40 degrees towards the South (to the left) and you’ll find the Hunter constellation (Orion) also great to look at and photograph. Take the time to observe the colour of the stars, from the red supergiant Betelgeuse to the blue supergiant Rigel, the two brightest stars in Orion.
These two constellation (Taurus and Orion) will set around midnight, therefore they will be low over the horizon (20deg above horizon at 9pm local time).
Dobsons are great “bang for the buck” with their quick setup, simple optics and ease of use. An 8″ Dobson should be everyone’s first telescope; not too big, not to expensive, but with great capability and endlessly upgradeable. Didn’t listen to that bit of wisdom… and now realize my mistake. But one of the drawbacks with Newtonians is that as you seek to dive deeper into space by increasing the telescope size, you quickly reach a point where the optical tube becomes too big to transport. One way to get around this issue is to have a “collapsible” optical tube by using a truss design.
When Meade launched the LightBridge series back in 2008 it brought this great concept to everyone’s doorstep. But the largest offered was a 16″ and weighted in a 130 lbs assembled. Going bigger was out of the question. But now Sky-Watcher has addressed the weight issue with a great design and a good choice of materials. The StarGate 18 weighs in at 110 lbs and looks great!
Sky-Watcher StarGate 18
The optics are standard F4 Newtonian design: 458mm diameter and 1900mm focal length. The primary mirror is not solid, but designed with ribs to allow for a thinner (and lighter) design, while maintaining rigidity. Even the secondary mirror has cells carved out to reduce weight. The tubes use quick-assembly clamps and Sky-Watcher claims a setup time under 30 minutes.
The rocker-designed base with counter weight is a very nice touch, everything sliding on Teflon bearings.
OK the $7,300CAD price means it’s not for everyone, but when one considers that a similar sized Ritchey-Chretien astrograph will be over 5x the price, and you still have to find a suitable EQ mount for it, it’s a bargain.
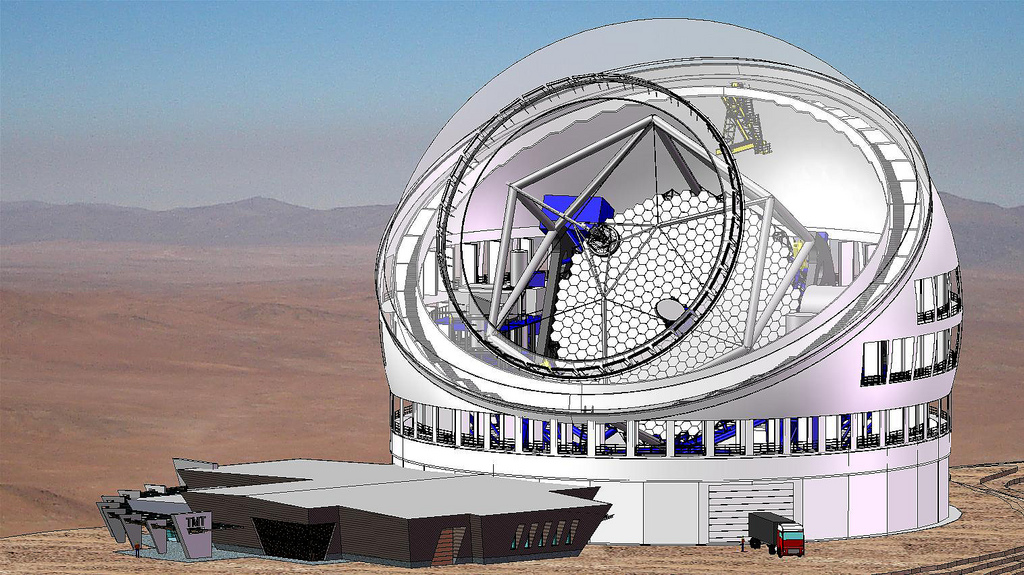
Thirty Meter Telescope – Courtesy TMT International Observatory
The telescope optical design is a folded Ritchey-Chrétien. Both the primary and secondary mirrors are hyperboloidal, and together they form a well-corrected focus. The tertiary mirror is used to fold and steer the light path so that the science beam can be delivered to any of eight instruments that will be mounted on the two main Nasmyth platfoms. The image is formed 20 meters from the center of the tertiary mirror. The focal ratio of the telescope is f/15.
The field of view of the telescope is 15 arc minutes (fully illuminated), or 20 arc minutes with slight vignetting at the edges of the field. At f/15, the focal length of TMT is 450 meters (1476 feet)! This means that the 20 arc minute field of view measures 2.618 meters (8.6 feet) in diameter.
The primary mirror focal ratio is f/1. This short focal ratio was chosen to make the telescope compact, which helps to keep the telescope structure and the enclosure affordable. As the name implies, the primary mirror is 30 meters (98 feet) in diameter, and because it is f/1 it has a focal length of 30 meters.
Current king of the largest light-bucket is the 10.4m diameter Gran Telescopio Canarias. Therefore the 30m TMT and the 39m E-ELT will be a considerable gain in light gathering power over the current crop of telescopes. Some are predicting that scientists will be able to directly observe planets orbiting distance stars, and perhaps even see distant oceans and weather formations.
It’s always intrigued me how we spend so much on EQ mounts, when these large telescopes operate in a simpler Alt-Az configuration.
In my previous post I’ve mentions that coment 67P/Churyumov–Gerasimenko is currently between the orbits of Jupiter and Mars, on a trip towards the Sun. While some comets take decades to become visible again this one has an orbital period of 6.44 years, therefore a frequent visitor. That was one of the selection criteria for the target comet: short orbital period such that it did not take too much fuel or planetary gravity assist to intercept.
On August 13th it will be at it’s closest position to the sun (perihelion), therefore brightest and a good time to observe. Afterwards it will be swinging back out towards Jupiter on its elongated orbit. For people in the Northern Hemisphere, the best time to observe comet 67P will be after this August date. Below is a chart showing that the comet will be visible in the early morning starting in June 2015, and will be visible at higher altitudes in the sky throughout the following months.
Comet 67P visibility for around 45 Latitude N.
Below is a chart (click to enlarge) showing the position of 67P until November 15th.
Comet 67P/Churyumov–Gerasimenko sky chart for Nov 2014 to Nov 201
A good photographic opportunity will be August 8th when comet 67P will pass right under open cluster M35.
First of all I want to congratulate the Rosetta team on their successful landing of Philae on the comet surface. When you consider that the spacecraft was launched 10 years ago, it was essentially designed and assembled with 15-year-old technology. Back then, digital cameras were just entering the market and the Palm III PDA was the mobile device everyone wanted. In fact, much of the code running on Rosetta and Philae was developed after the aircraft was launched.
Presently 67P is located between Jupiter and Mars, on its swing towards the sun. To give you an idea how far out it’s located in the solar system, it takes over 28 minutes for radio communications from Rosetta to reach Earth. Therefore if mission control sends a comment to Rosetta, the results are only known one hour later!
Location of comet 67P/Churyumov–Gerasimenko on November 13th, 2014 (Credit: ESA)
Starting in May 2015 67P will become visible to observers in the Northern Hemisphere, and will gradually brighten until achieving perihelion on August 13, 2015. Because it does not venture very close to the sun, past observations indicate that it will only reach magnitude 11 at best; a challenge to backyard telescopes.
Better slew your observation by 9 degrees north, that’s where comet 141P/Machholz will be in the same constellation (Gemini) and at magnitude 8; a slightly brighter target. And if you have no luck observing either comets or capturing them on photo, open cluster M35 is in the area.
Until then, you can follow Rosetta and Philae’s adventure on their blog: blogs.esa.int/rosetta/
Welcome to a journey into our Universe with Dr Dave, amateur astronomer and astrophotographer for over 40 years. Astro-imaging, image processing, space science, solar astronomy and public outreach are some of the stops in this journey!