
The simplest form of astrophotography is nothing more than a camera on a tripod shooting long exposures. However by the time you get around to stacking and stretching the levels of your photos to accentuate various elements, such as the Milky Way, the sky gradient will become more apparent. That gradient can come from city lights, the Moon up above and the thicker atmosphere causing light to disperse at low angles to horizon. Normally the wider the field of view, the greater the gradient.
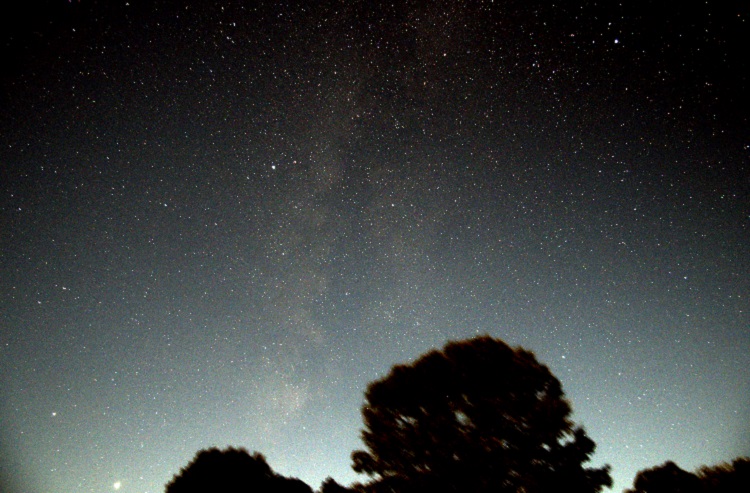
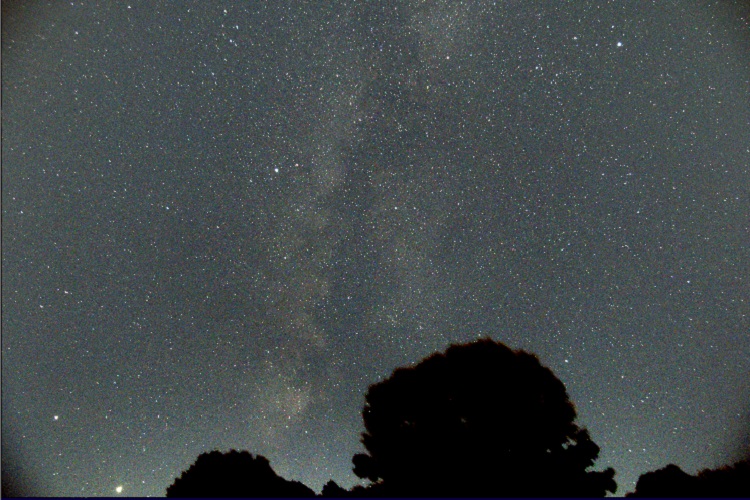
Below is a RAW 20-second exposure of the Milky Way near the horizon taken with a Canon 80D equipped with a 17mm F4.0 lens. The background has a slight gradient; brighter at the bottom. No all that bad.

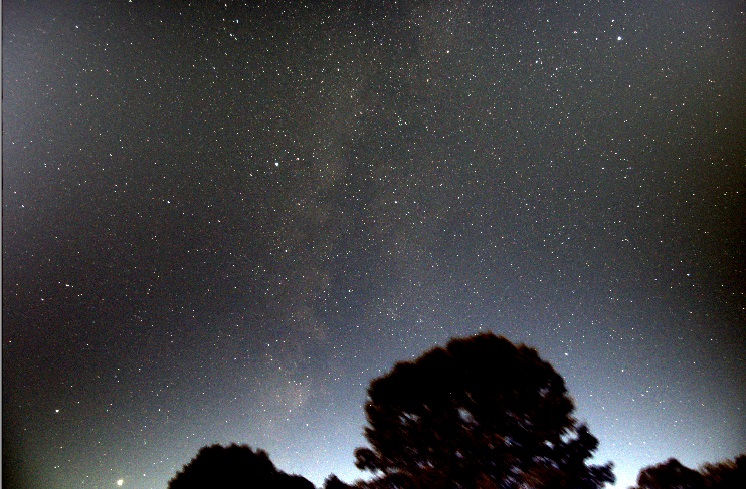
But once you stack multiple exposures and stretch the levels to get the Milky Way to pop out, the gradient only gets worse.
There are various astrophoto software that can remove the sky gradient. The one that I’m familiar with and have been using is IRIS. I know the software is old, but it does a great job. So after I’ve completed my registration and stacking of images with DeepSkyStacker (see my Astrophotography in the City article), the next step is to open the resulting image with IRIS.
Once the stacked image is loaded in IRIS, head over to the Processing menu and select Remove gradient (polynomial fit) … Actually to get the best results you need to have the background and color corrected as well as trimming the edge of your photo. Got that covered here.

The following menu will appear.
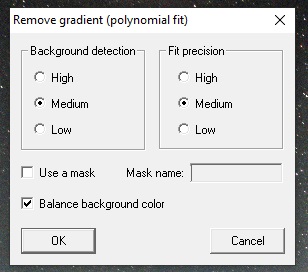
Normally the default settings (as above) will work well. But this image has some foreground content (trees) and that will cause the result to look a little odd. The algorithm is designed to avoid sampling stars, but not so good when there is foreground content like the trees at the bottom of the image.
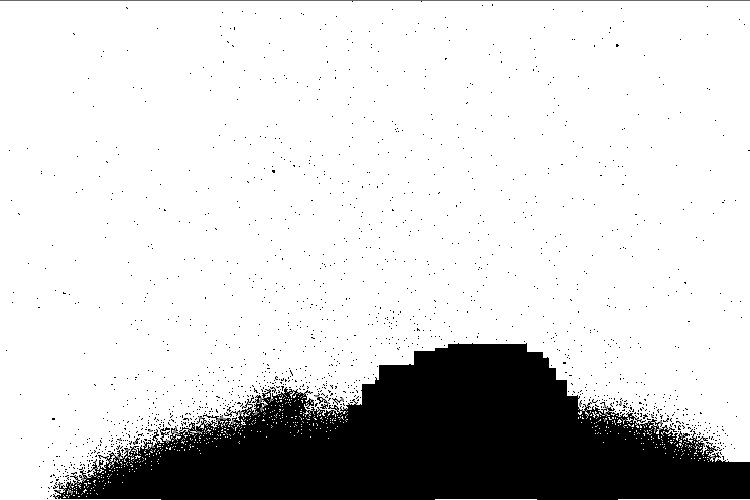
To correct this you must use the gradient removal function with a mask. The quickest way to create a mask is using the bin_down <value> command. This will change to white all pixels with intensities below <value>, and make black all pixels above it. Areas in black will not be used for sampling, while those in the white areas will. A little trial-and-error is sometimes necessary to select the right value.
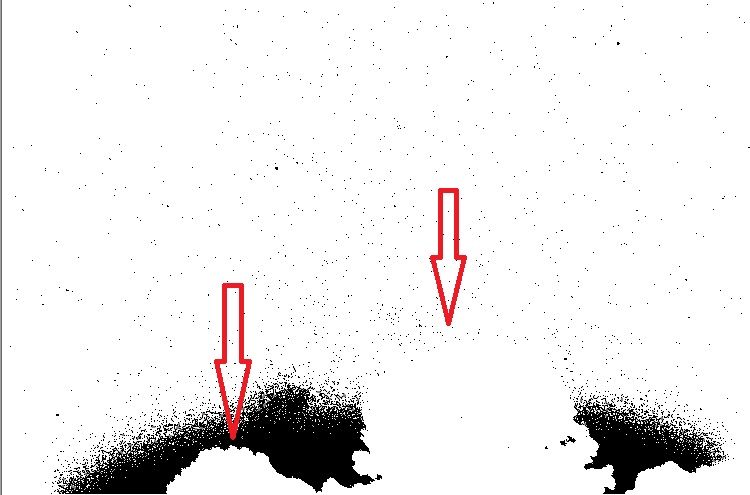
In this case, even with the right bin_down value, the trees that I want to mask are not black, hence I will use the fill2 0 command to create black boxes and roughly block out the trees.
Below is the result after using multiple fill rectangles to mask the trees. This does not need to be precise as the mask is simply used to exclude areas from sampling. It is not like a photo-editing mask.
The resulting mask is saved (I called it mask), and I load back the original image, this time using the gradient removal with the mask option selected.

The program generates a synthetic background sky gradient, based on thousands of sample points and an order 3 polynomial. The image below lets you see the synthetic sky gradient the algorithm generated. This is what will be subtracted from the image.


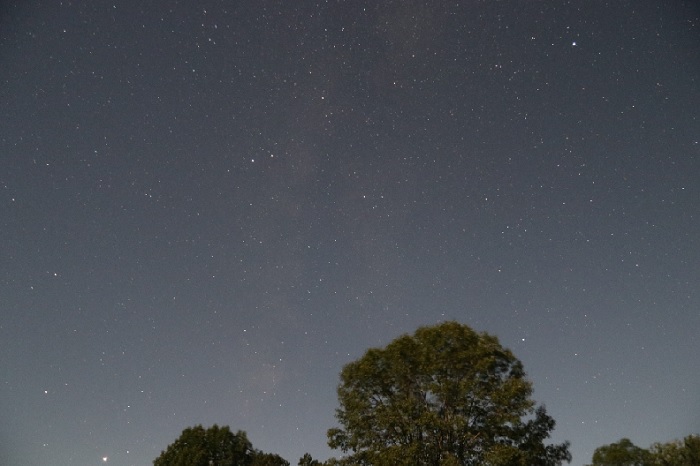
The final image below is much better and more uniform. There are no strange dark and bright zones like the attempt without the mask.
If we compare the original raw images with the new stacked, stretched and sky gradient removed photo the results are pretty impressive.


Pingback: Astrophotography in the City – Part 3 | Ben Backyard Astronomy
Pingback: Manually Processing Comet Images | Ben Backyard Astronomy