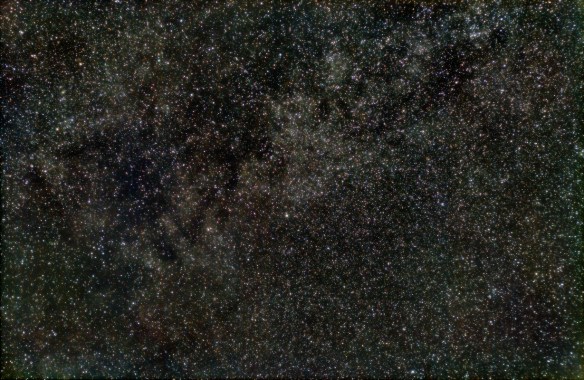
We spend lots of money on expensive optics and hours trying to get the focus spot-on or the mount alignment/guiding perfect for smooth tracking to avoid blurry and stretched stars. So why would you want to blur your final image?
Consider the images below. The one of the left is softer and more pleasing to the eyes, yet the stars remained sharp.
One way to obtain this effect is by creating copies of the image, applying varying blur to each and then adding them from heaviest to the least blur using the Lighten only layer mode.
Take your original image and duplicate as required (in my example I blurred two layers, hence need a total of three identical layers).
Apply heavy blur to the bottom layer. At the same time, reduce the color saturation and adjust the levels to get nice blacks. You want the blacks to be nice and dark such that the general shape of the cloud-like structures appear due to the bright and dark zones. In this example, the blur was applied to a level of 80 pixels.
Repeat the same for the middle layer, but with less blur (level of 20 pixels). If you want the colors of the stars to pop out, increase the color saturation. It will create an effect of nebulosity around bright stars. Once again, adjust the levels as required.
Finally, the top layer don’t apply any blur, adjust the curves to reduce the faint portion of the image as you don’t need to keep this portion of the image. You only want to keep the nice bright stars. The dim structures are kept in the lower two blurred layers.
Adjust the % between the layers to get the desired effects The pixel intensity from bottom (most blurred) to the top will be kept only if the result is brighter than the previous layer. The sharp and bright stars are from the top layer, while the overall dim structures are from the blurred lower layers.
Turn the various layers on/off to see what is the contribution of each. It’s a lot of trial and error depending what you accentuate versus what you want to fade into the background. Play with the level of blur, the curves and the % layer blending until you get the effect you desire.
For more information on the original image, see my post on Vulpecula.


