
Looking back, the “Great comet of 2020″ C/2020 F3 NEOWISE was a fantastic sight and well worth the 3am alarm to snap some photos back in July. But comet images are notoriously difficult to work with. Should I also add that in older times, comets were often seen as a bad omen, the bearer of bad news? Cough, cough COVID-19 cough…
Anyways, back to astronomy… There are essentially two types of photo registration (alignment) software out there: 1) Deep Sky which uses pin-point stars to perform alignment; 2) Lunar/Planetary uses the large “disk” of a planet or Moon to align based on surface details.
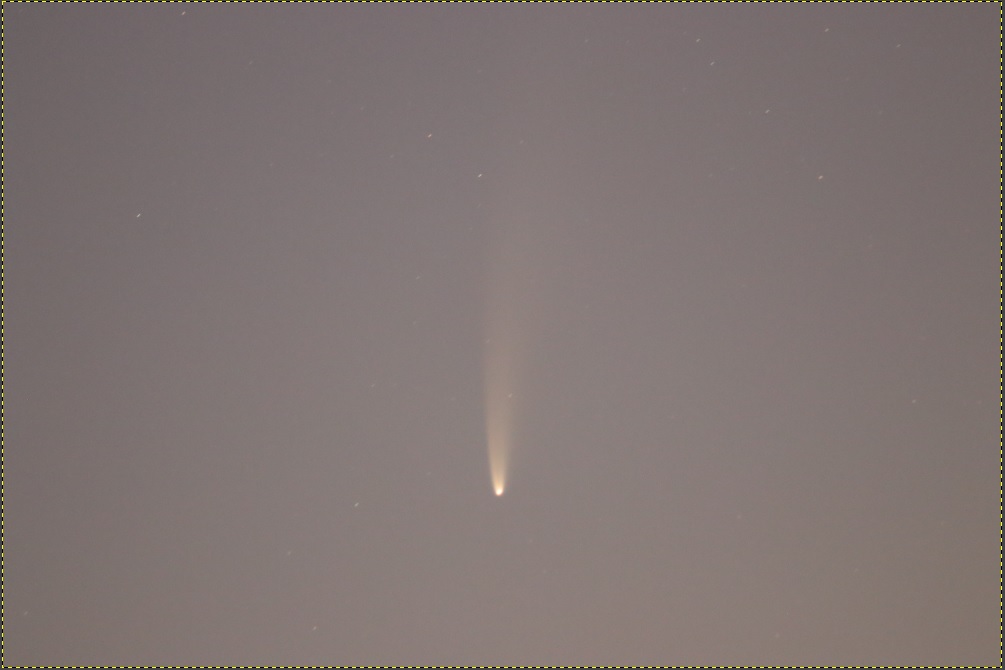
So when you capture long wispy comets like the RAW image below, software like DSS or Registax just can’t cope.
I turned to standard photo-editing software for a manual alignment and stacking. This is essentially opening one “base” image and then adding a 2nd image as a new layer. I change that 2nd layer to be overlaid as a “Difference” and manually align this 2nd layer to match the base layer. Once that is done I change the layer mode to Addition, and then hide this 2nd layer. Repeat the steps for a 3rd, 4th, 5th, etc. layers until you’ve added all your images. Always aligning with the “base” image to ensure no drift.
If you simply add all those layers up, you will get one very bright image because you are adding pixel intensities. You can do that and then work with the Levels and Curves to bring it back down, or if like me, working with GIMP, then use the Py-Astro plug-ins to do the merging and intensity scaling in a single step with a Merge all layers. Py-Astro can be downloaded here. I haven’t explored all that the plugins have to offer, that will hopefully be in another blog.
Stacking 11 individual frames results in an improvement over a single RAW image (image below). With the stacked image, I’m able to work with the intensities to darken the sky while keeping the comet tail bright.

However the sky gradient is pretty bad, due to the camera lens and because at 4am the sun is starting to shine on the horizon. So off to IRIS to correct the background gradient. From GIMP I save the files as a 16BIT FIT that I can use in IRIS. For steps on how to do this, see my blog about how to remove the sky gradient.
After a quick spin in IRIS, I’m back in GIMP for final color and intensity adjustments, I boosted the BLUE layer and adjusted the dark levels for a darker sky.


Hi,
Did you use Py-astro Linux or Win version?
LikeLike
I’ve installed Py-astro, but haven’t taken the time to explore and see what it’s capable of doing compared to the other software that I’m familiar with.
LikeLike